

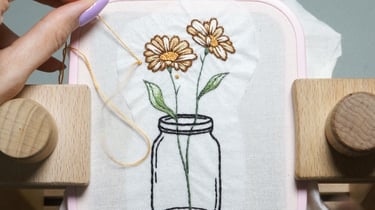
7 Essential Embroidery Stitches Every Beginner Should Learn
Learn 7 essential embroidery stitches every beginner should know, including back stitch, satin stitch, French knots, and more.
BEGINNER'S GUIDE TO EMBROIDERY
6/6/20263 min read
Once you've gathered your embroidery supplies, the next step is learning a few foundational stitches. The good news is that you don't need to learn dozens of stitches to create beautiful embroidery. In fact, many embroidery designs can be completed using just a handful of versatile stitches.
In this guide, I'll walk you through the essential embroidery stitches that I recommend every beginner learn first.
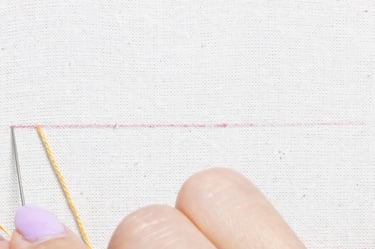
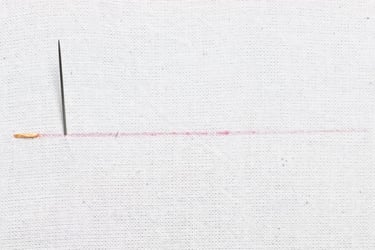
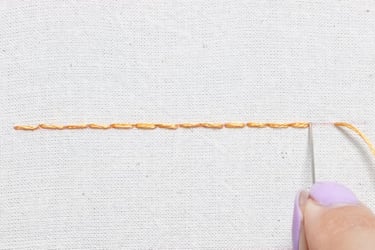
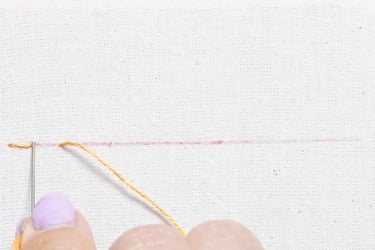
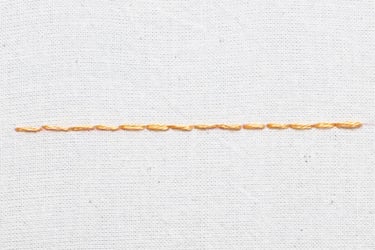
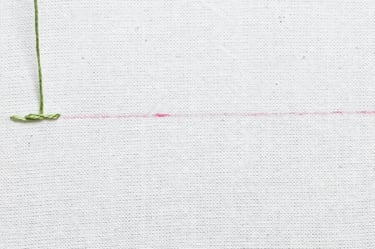
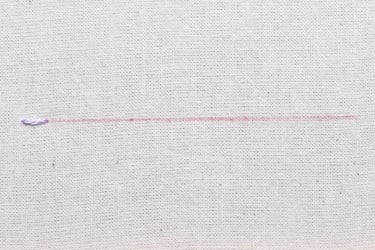
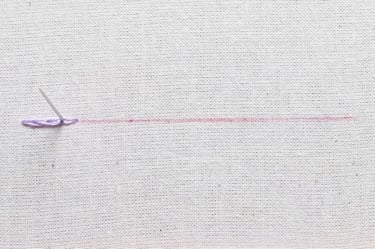
Back Stitch
Back stitch is one of the most versatile and beginner-friendly embroidery stitches. It creates a continuous line by stitching backward into the end of the previous stitch, making it perfect for outlines, lettering, borders, and adding fine details to embroidery designs. Its clean, solid appearance makes it a foundational stitch that every embroiderer should learn.
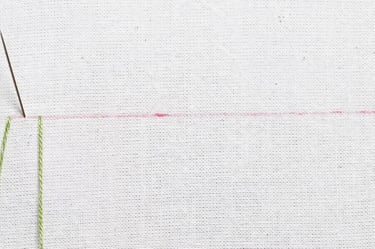
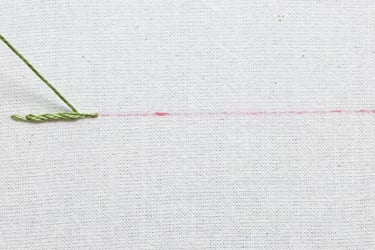
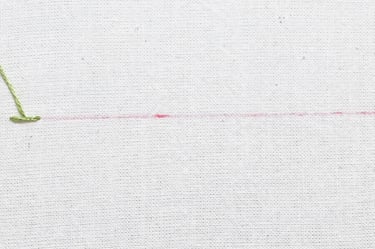
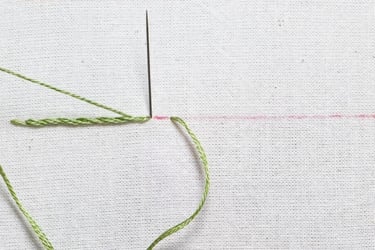
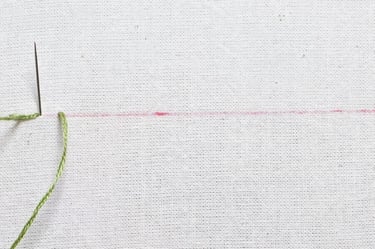
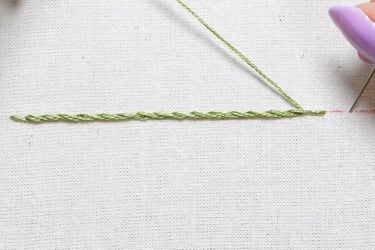
Stem Stitch
Stem stitch is a simple embroidery stitch that creates a smooth, slightly twisted line resembling a rope or cord. It is commonly used for flower stems, vines, curves, and decorative outlines. Because it follows curved lines beautifully, stem stitch is a favorite for floral and botanical embroidery designs and adds a soft, elegant texture to stitched artwork.

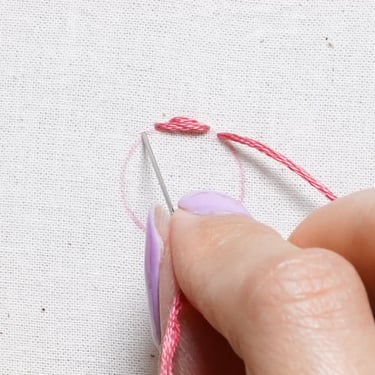
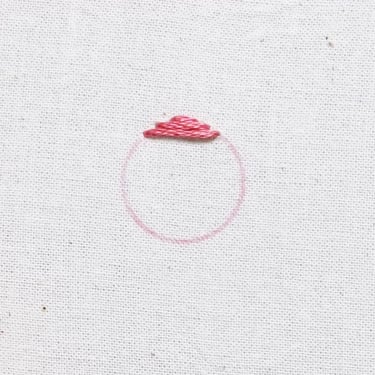
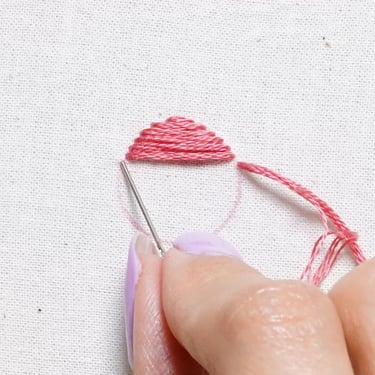
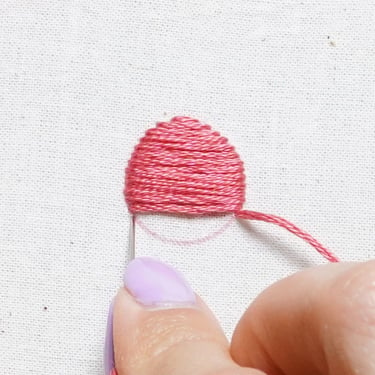
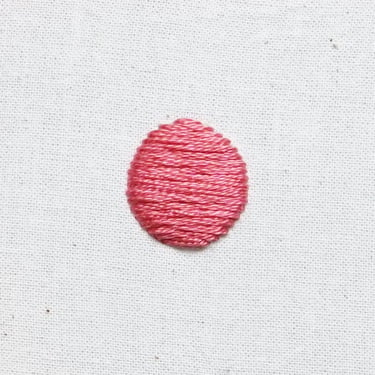
Satin Stitch
Satin stitch is a filling stitch made by placing straight stitches closely together to completely cover an area of fabric. It creates a smooth, polished surface that is perfect for filling petals, leaves, lettering, and other shapes. Satin stitch adds bold color and a professional finish to embroidery designs, making it one of the most commonly used stitches in both traditional and modern embroidery.
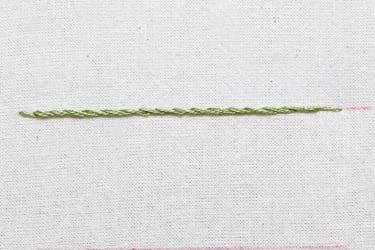
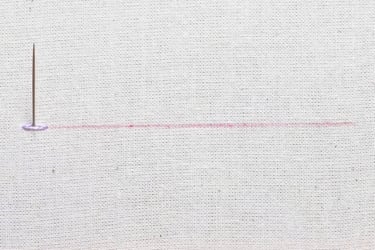
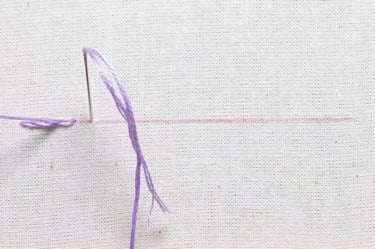
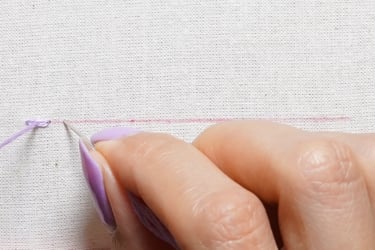
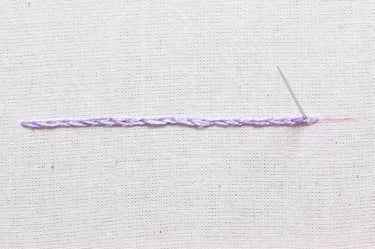
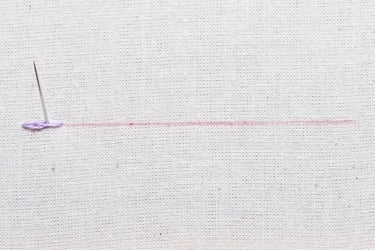
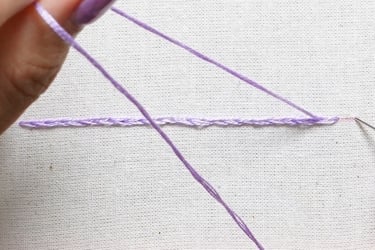
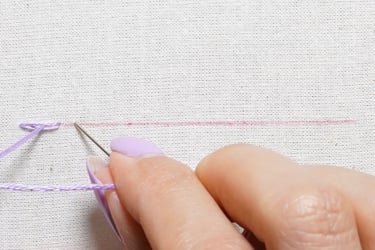
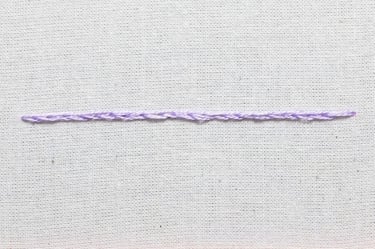
Split Stitch
Split stitch is an outline stitch created by bringing the needle up through the center of the previous stitch, forming a slightly textured, braided line. It is commonly used for outlines, lettering, and adding fine details to embroidery designs. Split stitch is also an excellent foundation for thread painting, as its textured surface helps support smooth color blending and realistic shading.
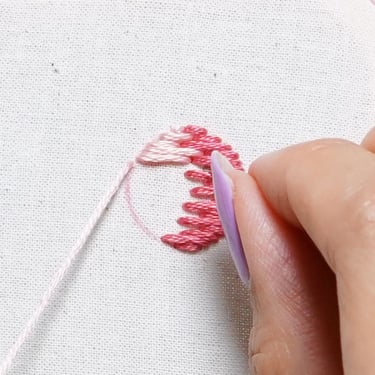
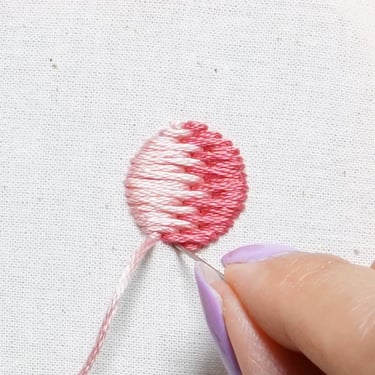
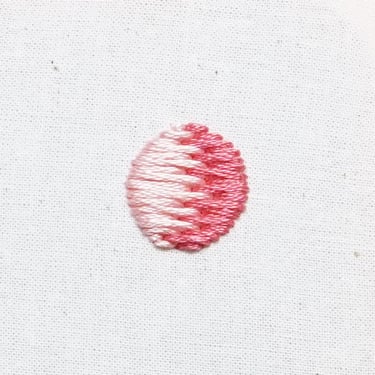
Long and Short Stitch
Long and short stitch is a filling stitch that uses alternating long and short stitches to create smooth transitions between colors and shapes. It is the foundation of thread painting and is commonly used to achieve realistic shading, depth, and texture in embroidery. By blending colors gradually, long and short stitch can create lifelike flowers, animals, portraits, and other detailed embroidery artwork.
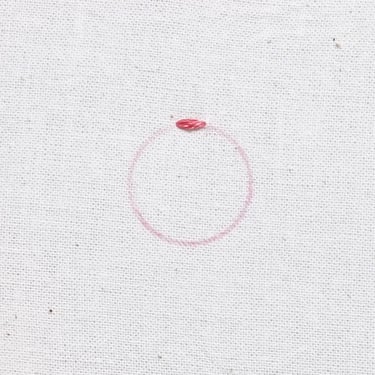
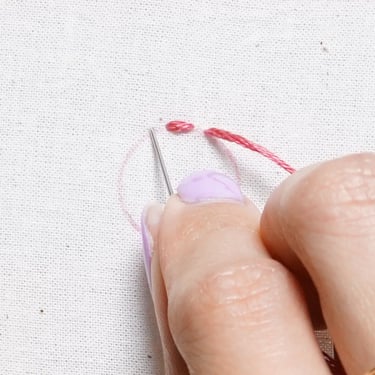
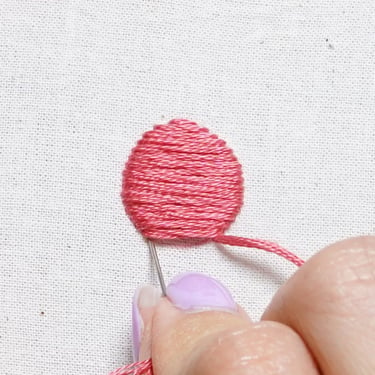
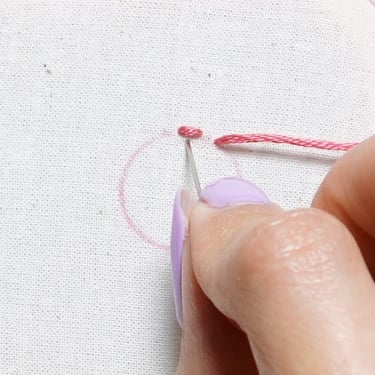
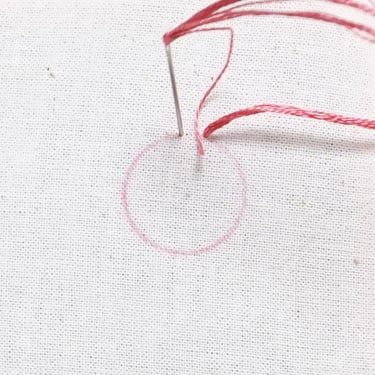
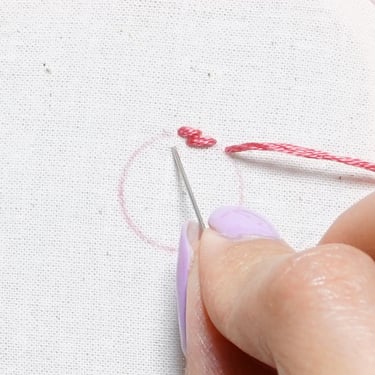
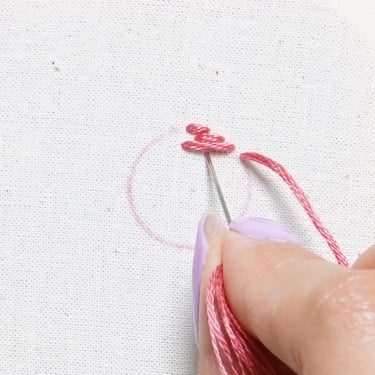
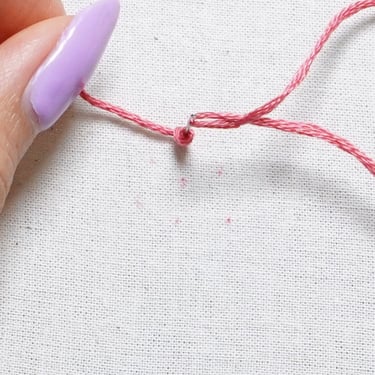
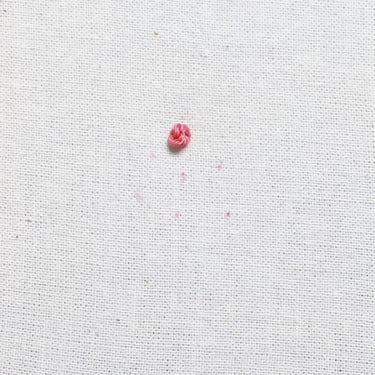
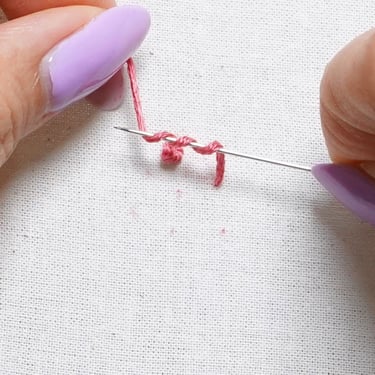
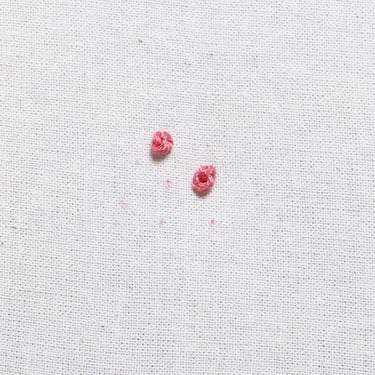
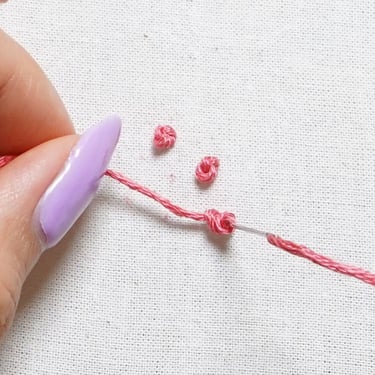
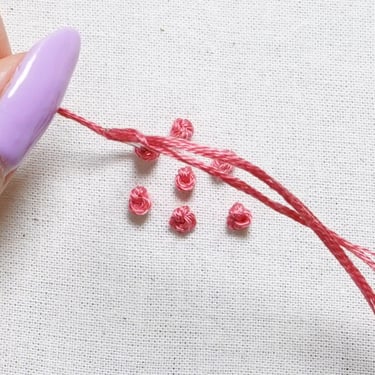
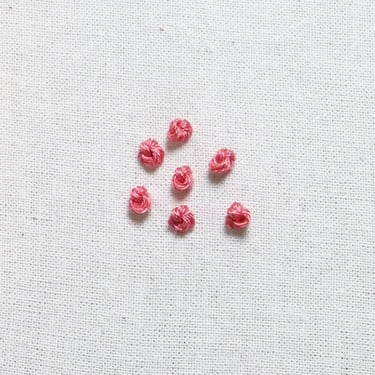
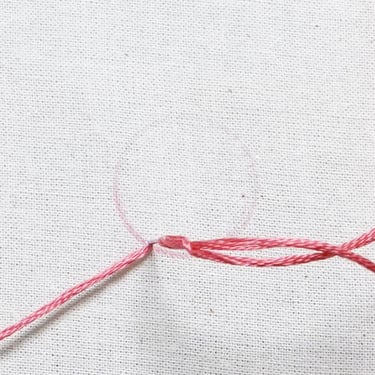
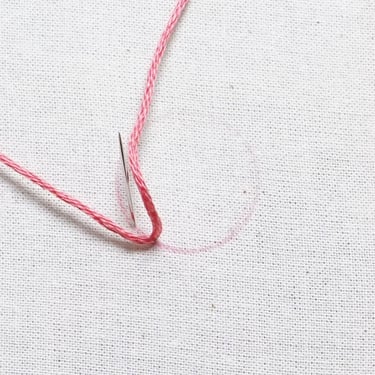
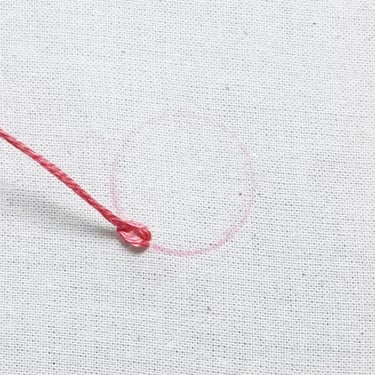
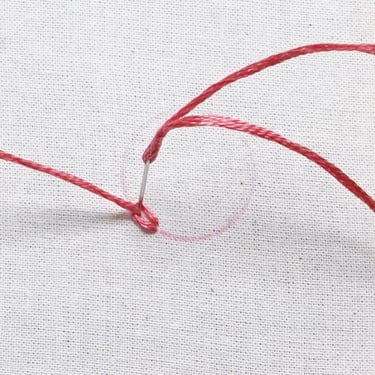
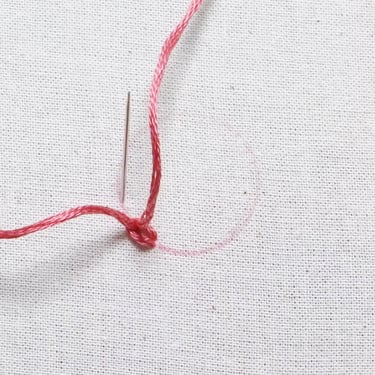
French Knot
French knot is a decorative embroidery stitch that creates a small, raised knot on the surface of the fabric. It is formed by wrapping the thread around the needle before inserting it back into the fabric, resulting in a textured dot. French knots are commonly used for flower centers, berries, eyes, and other small details that add dimension and visual interest to an embroidery design. While they may seem challenging at first, they are one of the most versatile and rewarding stitches to master.
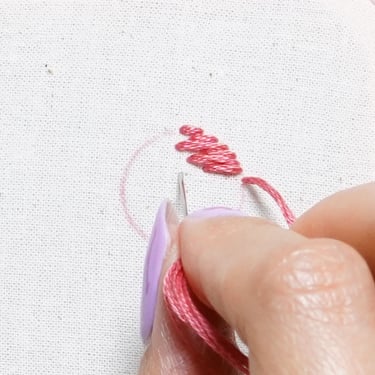

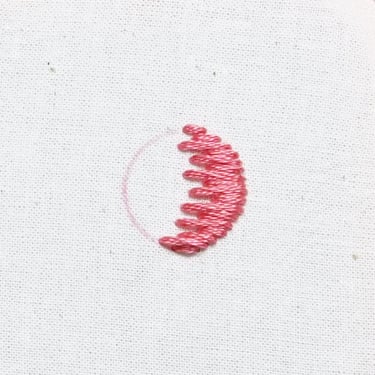
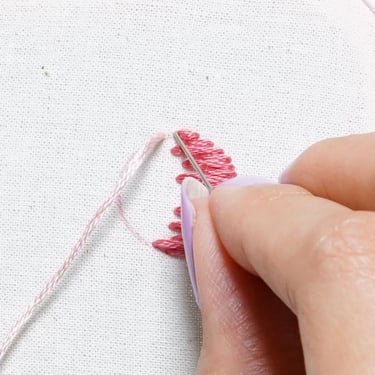
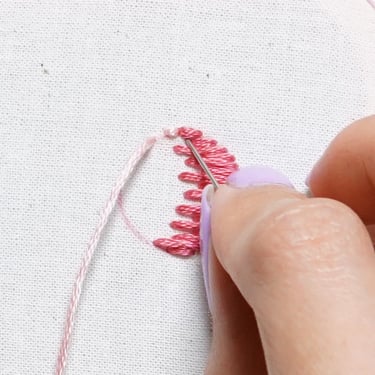
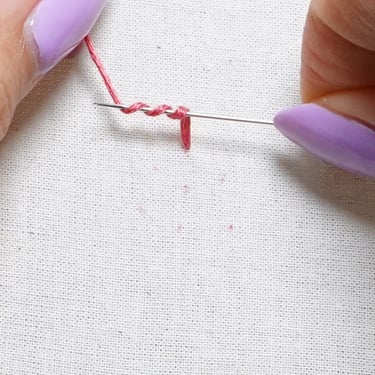
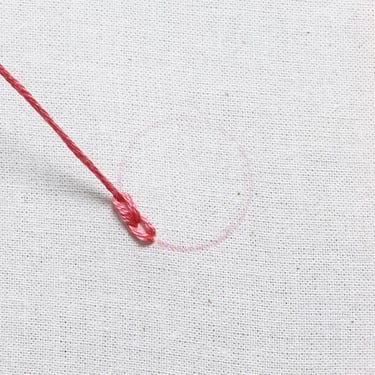
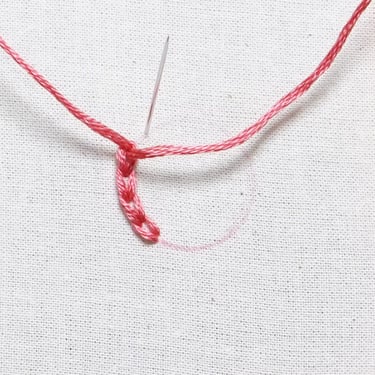
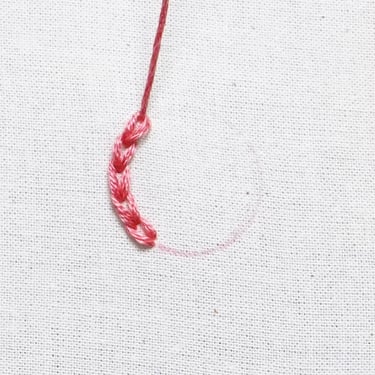
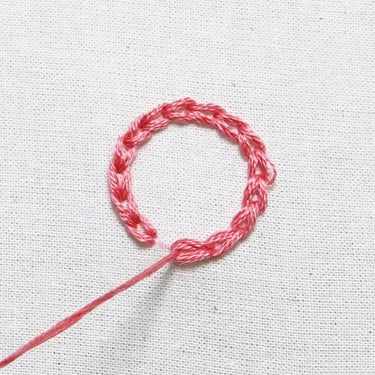
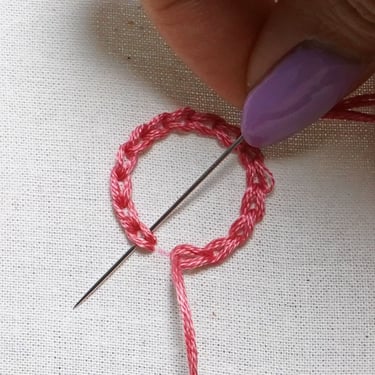
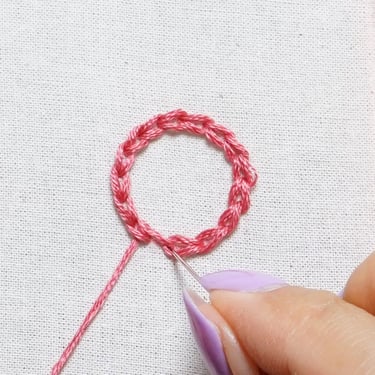
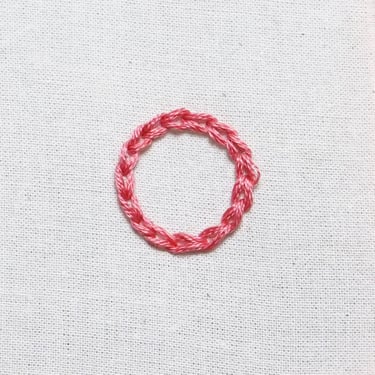
Chain Stitch
Chain stitch is a decorative embroidery stitch that forms a series of connected loops resembling a chain. It creates a textured, flowing line that is perfect for outlines, borders, lettering, stems, and textured fillings. Chain stitch can be worked in straight lines, curved lines, or closed loops, and adds dimension and visual interest to embroidery designs, making it a versatile stitch for both traditional and modern embroidery projects.
Note: In this tutorial, I used freestyle long and short stitch to fill in the leaves. This variation uses stitches of varying lengths placed organically to create smooth color transitions and natural texture. Instead of following a rigid pattern, the stitch lengths are adjusted to match the contours and flow of the subject, making it ideal for leaves, realistic florals, fur, feathers, and other lifelike embroidery details. This flexible approach gives you more control over shading, blending, and movement within your design.
Now that you've learned these essential embroidery stitches, you're ready to start your first embroidery project. In the next blog post, I'll walk you through the basics of embroidery floss and how to utilize different number of strands in various embroidery stitches. I'll also share direct links to my favorite embroidery floss. Happy stitching!
To help you practice these stitches, I’ve created a free embroidery pattern and tutorial video featuring all seven stitches covered in this blog.
You can find the pattern here!

Watch tutorial video
Read more
House of Nina Anne
Follow me on social media
Newsletter
For online orders: contact@houseofninaanne.shop
©2026 House of Nina Anne. All rights reserved.
Join my stitching corner, get fresh embroidery tips, and receive exclusive deals!
For custom embroidery art: