USE CODE OPENING26 TO GET 20% OFF ALL PATTERNS

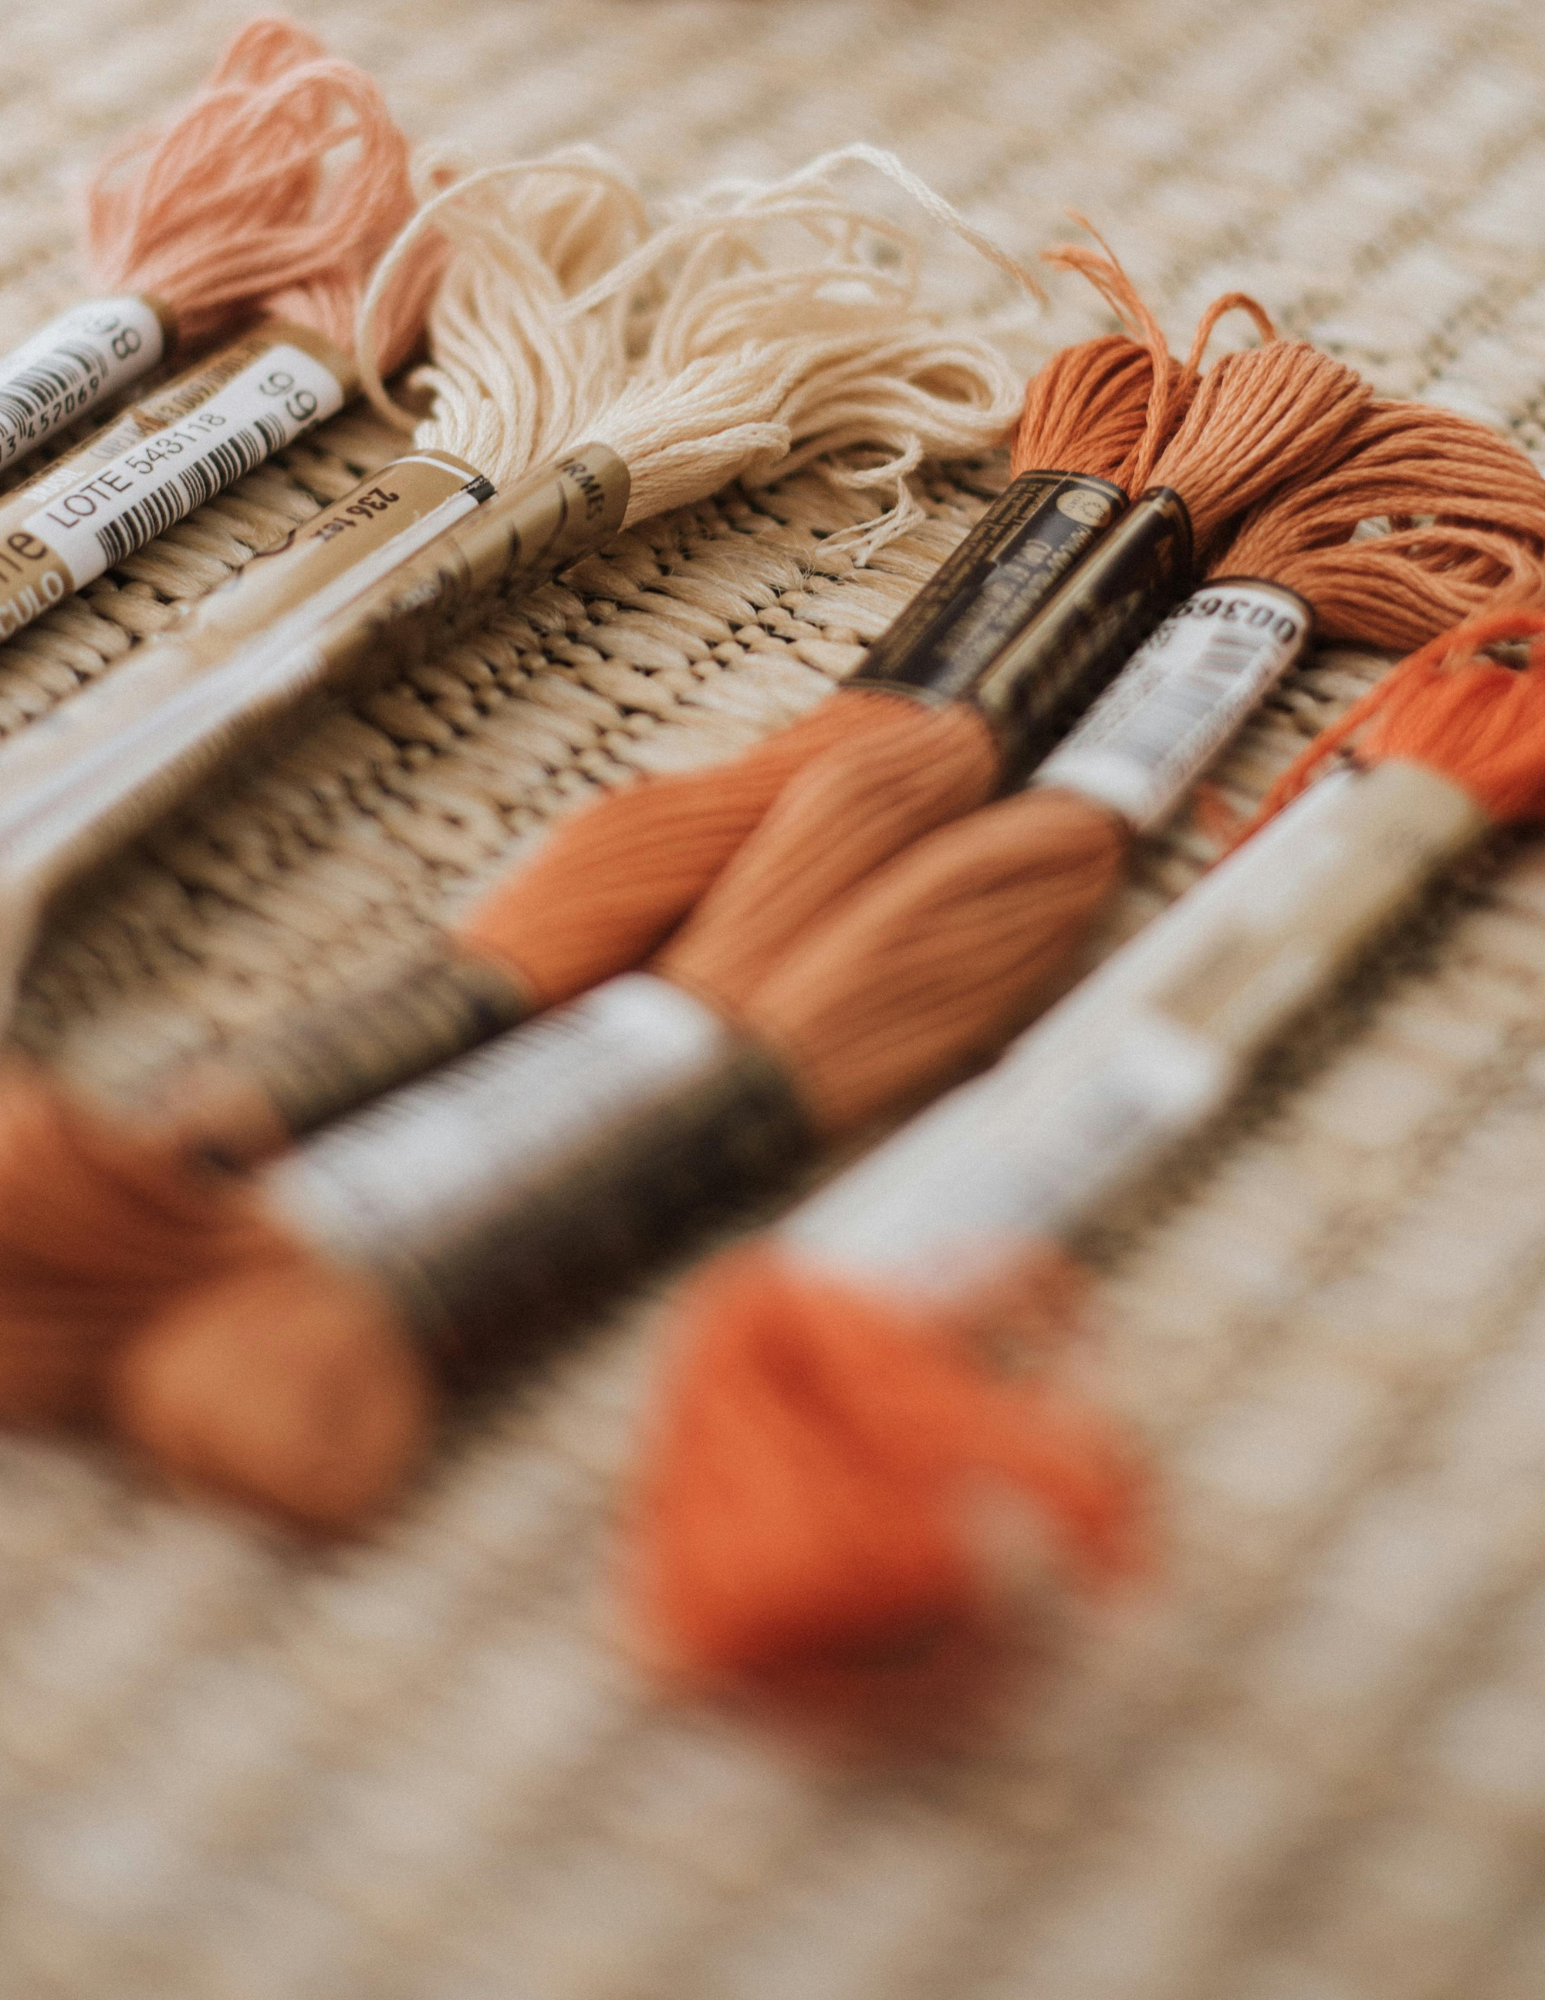
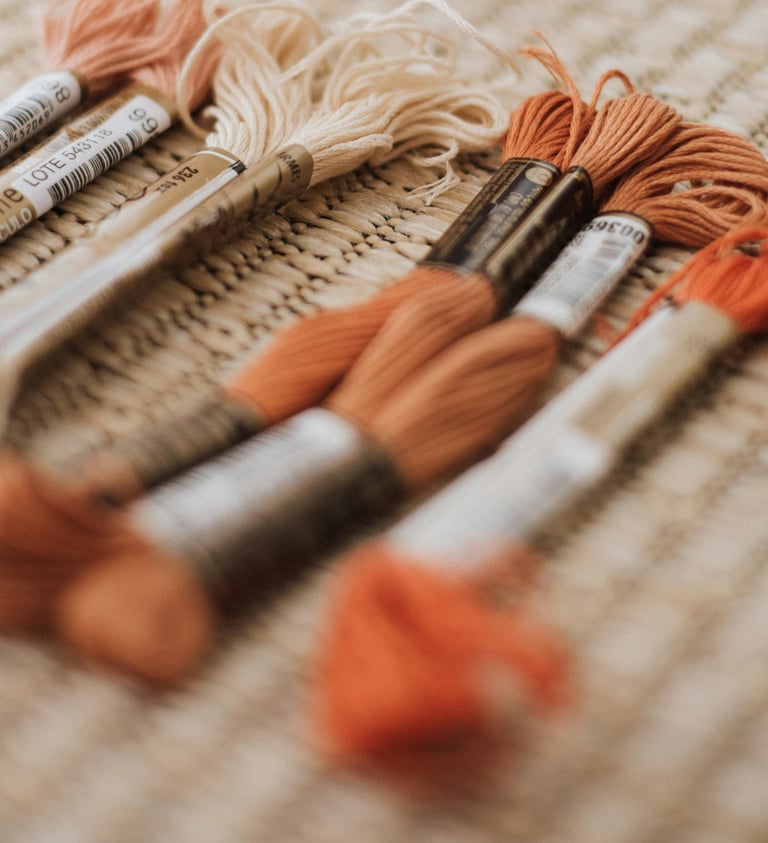
Understanding Embroidery Floss
Learn how many strands to use and how to blend them, making stitching easier and gives you more control over your finished design.
BEGINNER'S GUIDE TO EMBROIDERY
6/18/20264 min read
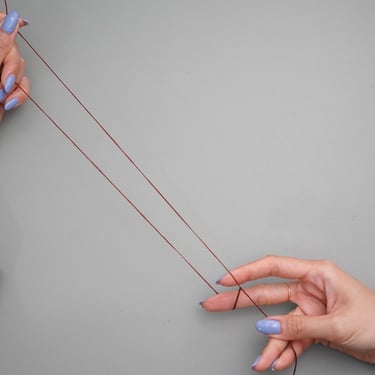
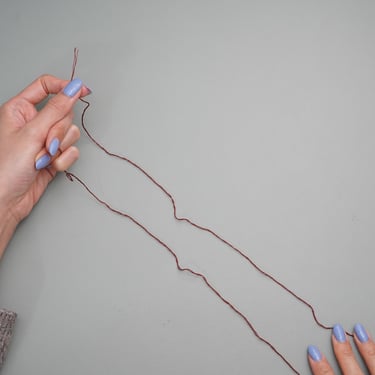
How to separate embroidery floss strands
The most common hand embroidery floss is made from six individual strands that can be separated and combined to create different line weights, textures, and color effects. In this blog, I will walk you through learning how many strands to use and how to blend them, which will make stitching easier and give you more control over your finished design.
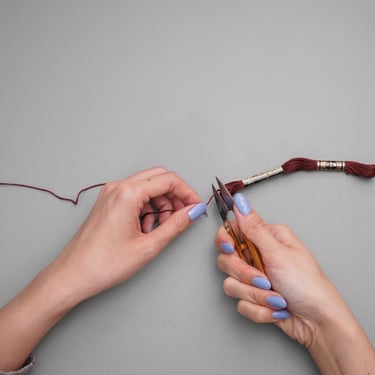
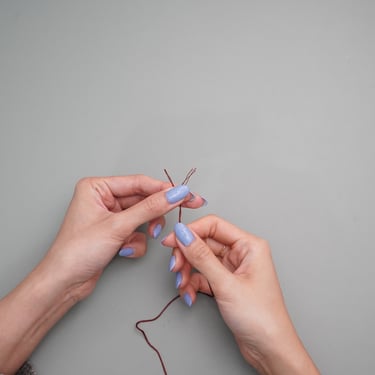
To separate embroidery floss, first cut a manageable length of about 18 inches, or 45 centimeters. Choose the number of strands you need, then use your fingers to gently separate them from the rest, working from one end to the other. When separating two or more strands, select strands that lie next to each other to make the process easier.
Thread Thickness
One strand
Creating outlines with a single strand
In modern embroidery, a single strand is ideal for stitching slender plant stems, delicate outlines, fine lettering, and other small details. Its thin appearance allows artists to create precise lines, subtle textures, and intricate areas without making the design look bulky.
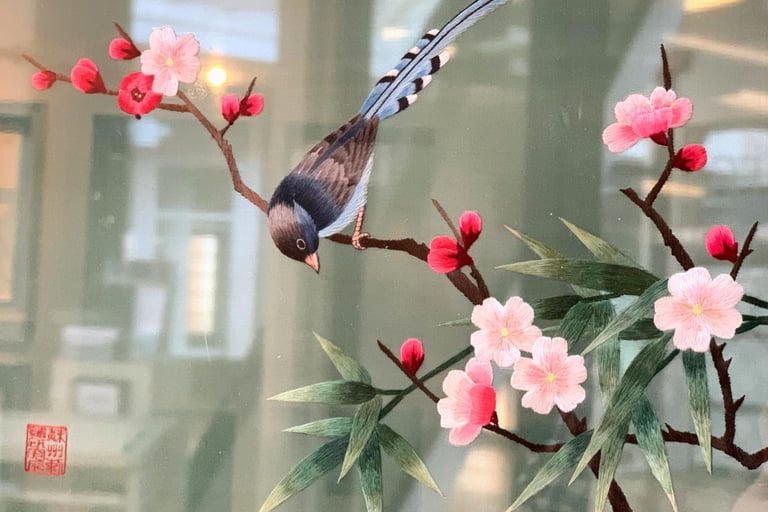
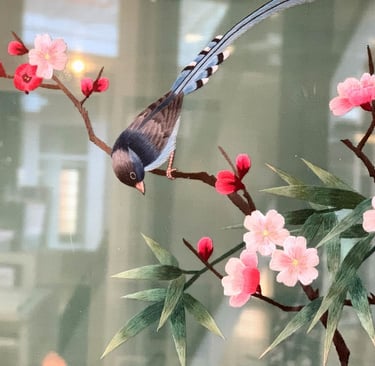
“Bird on Branch,” double-sided Suzhou embroidery.
Source: Embroiderers’ Guild of America, “Embroidery Techniques from Around the World: Suzhou.”
Intricate thread painting
A single strand of floss is often used to create very fine lines, tiny details, and delicate shading. In traditional thread painting, embroidery artists commonly work with one strand to achieve smooth color transitions, precise details, and realistic textures.
Adding fine details
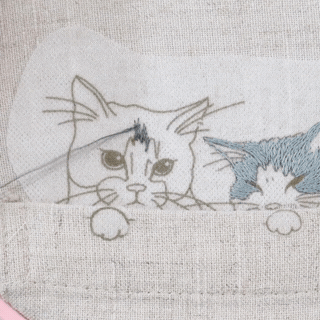
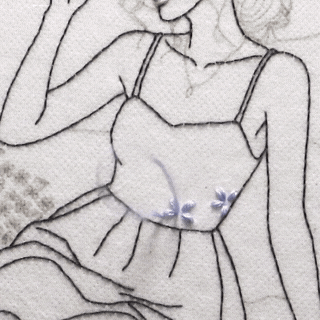
Two strands
Using two strands of floss is one of the most common choices in modern hand embroidery. It creates a light-to-medium line that is visible without looking too heavy, making it suitable for a wide range of designs. Two strands are versatile enough for outlines, lettering, plant stems, small decorative details, and many filling stitches.
Because the coverage is relatively light, stitches made with two strands can also be layered or placed close together to build up color, texture, and dimension. This makes two strands a good starting point for beginners, especially when they are unsure how thick their stitches should be. They provide more definition than a single strand while still allowing the embroidery to look neat and detailed.
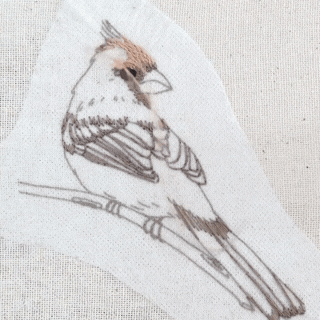
Cardinal thread painting
French knots
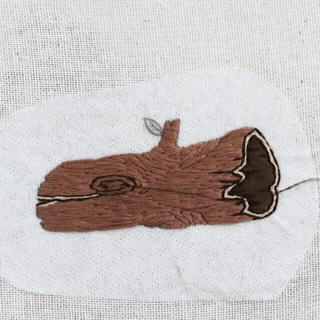
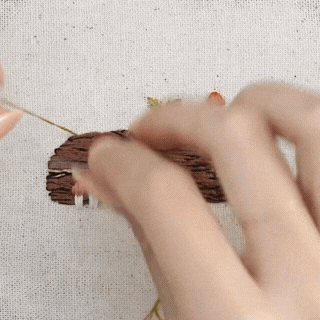
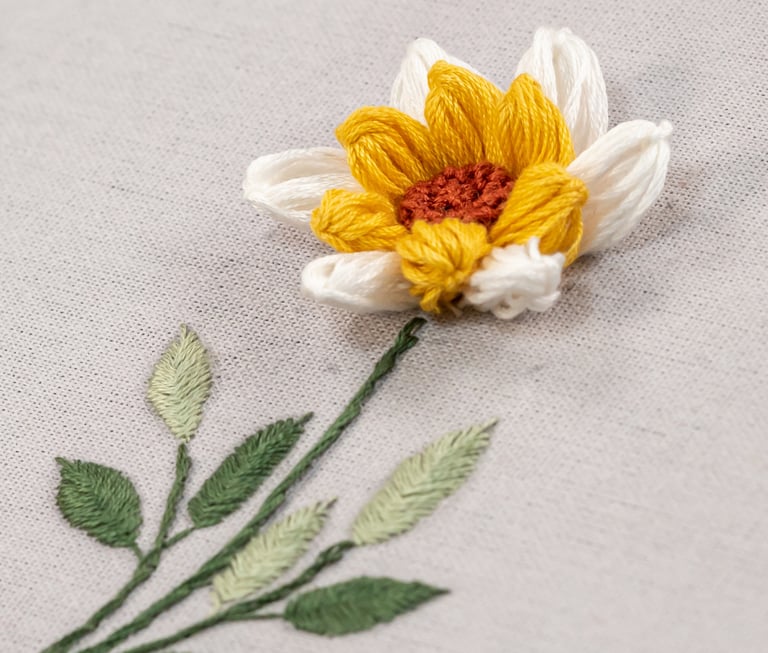
Three strands
Three strands of embroidery floss create moderate thickness, coverage, and texture. They produce bolder stitches than one or two strands while still allowing enough control for detailed work. Embroidery artists often use three strands for prominent outlines, decorative borders, lettering, flower petals, leaves, and filling stitches. This strand count is especially useful when you want the design to stand out without appearing too thick or bulky.
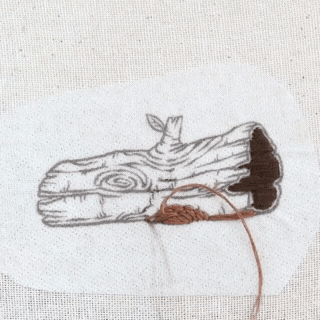
Wood log embroidery with freestyle stitch
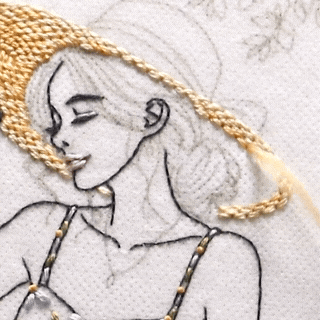
Sun hat embroidery with brick stitch
Flower petals with satin stitch
Four to six strands
Keep in mind that the ideal number of strands also depends on the fabric, needle size, and desired effect. Thicker thread may be difficult to pull through tightly woven fabric, so use a needle with an eye large enough to accommodate the floss without fraying it. Testing the stitch on a scrap of fabric can help you determine whether the thickness and texture suit your design.
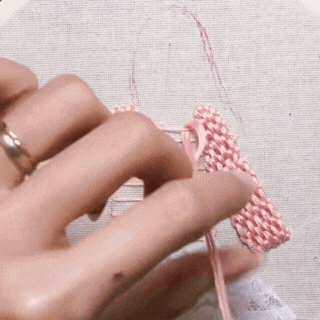
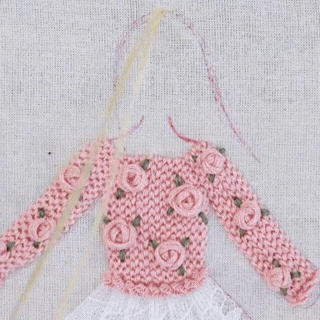
Sweater embroidery with raised chain stitch
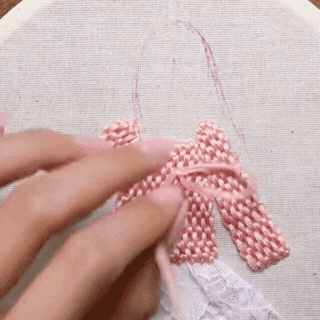
Woven rose stitch
Embroidering hair
Using more than three strands of embroidery floss is ideal when you want to create bold, highly textured details. These thicker areas often become the focal point of a design, represent objects that appear closest to the viewer, or add dimension to three-dimensional embroidery.
Four or more strands work especially well for woven and raised stitches, such as the woven rose stitch (also known as the woven wheel stitch), raised chain stitch, and basketweave stitch. The extra strands give these techniques greater volume, helping the finished embroidery appear fuller and more sculptural.
In 3D embroidery and stumpwork, artists commonly use four to six strands of floss to build depth and structure. Padded satin stitch is another effective technique for creating raised elements. A layer of padding stitches is worked first, followed by closely placed satin stitches that cover the foundation and produce a smooth, dimensional finish.
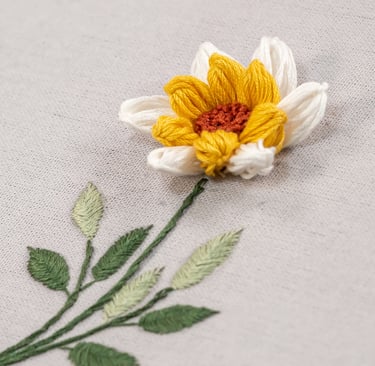
Flower stumpwork (Image by Mohamed Rizly)
While many embroidery floss brands are available, DMC is one of the most widely used in the United States. It offers an extensive selection of cotton embroidery floss in a wide range of colors, making it a reliable choice for both beginners and experienced stitchers.
You can browse DMC embroidery floss on Amazon here.
Disclaimer: This is an affiliate link, which means I may earn a small commission from qualifying purchases at no additional cost to you.
Now that you understand the basics of embroidery floss and how to choose the right number of strands for your project, the next blog post will show you how to transfer an embroidery pattern onto fabric.
In the meantime, explore the embroidery patterns available for purchase below, or visit my Etsy shop to discover even more designs.
Read more
House of Nina Anne
Follow me on social media
Newsletter
For online orders: contact@houseofninaanne.shop
©2026 House of Nina Anne. All rights reserved.
Join my stitching corner, get fresh embroidery tips, and receive exclusive deals!
For custom embroidery art: