
Summer Picnic Embroidery Guide
This companion guide accompanies the Summer Picnic embroidery pattern. It covers the colors and stitches used, helpful techniques, and practical tips to make completing the embroidery easier and more enjoyable.
PATTERN GUIDE
7/4/202612 min read
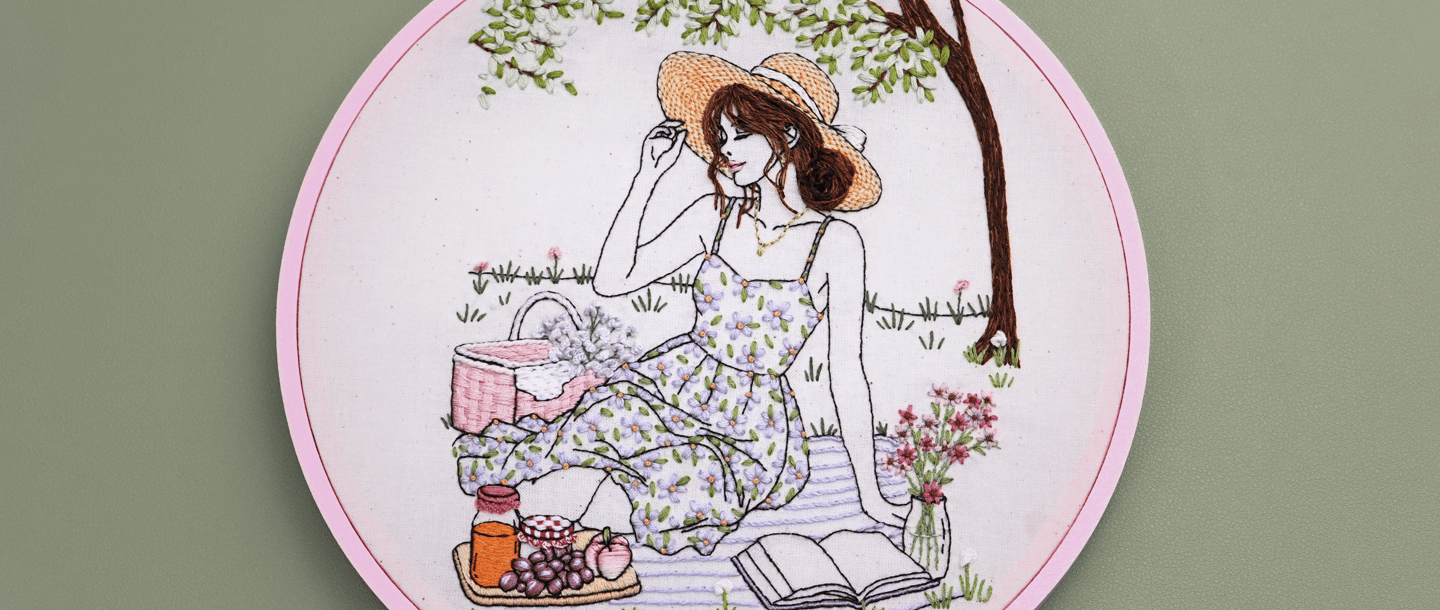
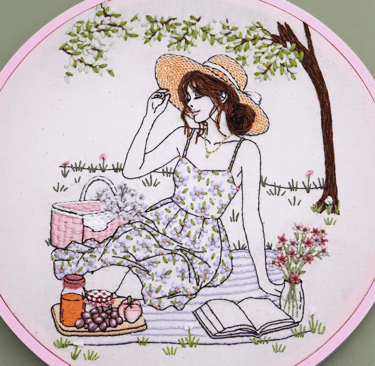
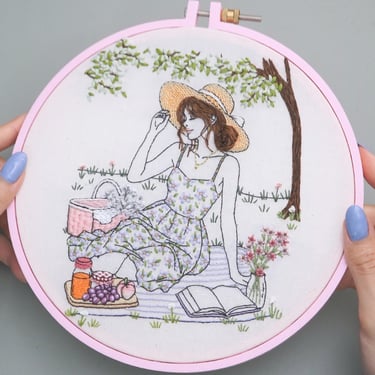
This peaceful picnic embroidery design is the epitome of my romanticized idea of a summer picnic: a girl in a beautiful sundress, reading a good book, tasting the fruits of summer, and enjoying the sunshine and surrounding nature. I’m excited to share this embroidery with you and help you bring your own summer picnic scene to life.
This is one of the most elaborate designs I have created so far. It includes several intermediate embroidery techniques, all of which I will explain throughout this blog post.
In this guide, I’ll walk you through executing each embroidery stitch, stitching order, stabilizer application and removal, and the finishing process used to create the design. A printable pattern is available to purchase for anyone who would like to stitch along, and I have also created a complete free video tutorial on YouTube.
Before we begin, my advice is to be patient. This is a longer embroidery project, so take your time, enjoy each stage of the process, and embrace the little imperfections that make your finished piece unique.
Let’s get started!
You can purchase the patter here:
Pattern
In this PDF pattern, you’ll find a full-size, ready-to-print template, along with a complete list of thread colors and stitches. The PDF also includes instructions for applying and removing the pattern transfer, as well as a clickable supply list featuring the materials I used for this design.
The pattern is designed to fit a 8-inch hoop and measures approximately 5 by 6 1/2 inches when printed at 100% scale.
Please note that this PDF does not include a detailed step-by-step stitching guide. Instead, it includes direct links to this blog post and the free YouTube tutorial, where I demonstrate the techniques and guide you through the stitching process.
This is a digital PDF download; no physical pattern, supplies, or finished embroidery will be shipped. The design is recommended for intermediate stitchers and is intended for personal use only.
The accompanying YouTube tutorial does not include a voice-over. Instead, instructions are provided through on-screen captions alongside the stitching demonstrations. These captions identify the number of strands used for each detail, the stitch types, and helpful notes for executing each technique.
The tutorial is designed to be watched one section at a time rather than straight through. Pause the video as needed to read the instructions, stitch along at your own pace, and replay any demonstrations you would like to review.
Video Tutorial

Skill level: Confident intermediate to advanced
Finished design size: 5 inches wide by 6¾ inches tall
Recommended hoop size: A 9-inch round hoop or slightly larger
Fabric: Light-colored cotton, linen, or a cotton-linen blend. I used unbleached muslin for my version.
Thread type: Six-strand cotton embroidery floss
Stabilizer: Printable or traceable wash-away stabilizer
Approximate stitching time: I completed this design over approximately four days while stitching at a leisurely pace. Your completion time may vary depending on your experience and stitching speed.
Pattern format: A digital PDF with a full-size, ready-to-print pattern
Printing instructions: Print the pattern at 100% or “actual size” unless you would like to resize the design.
Quick Project Overview
Supplies and Materials
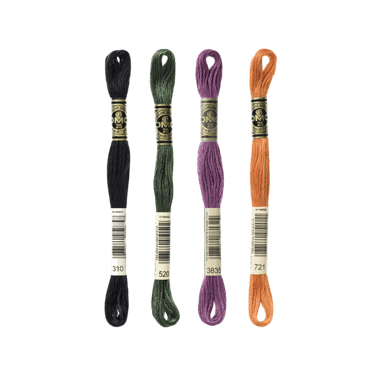
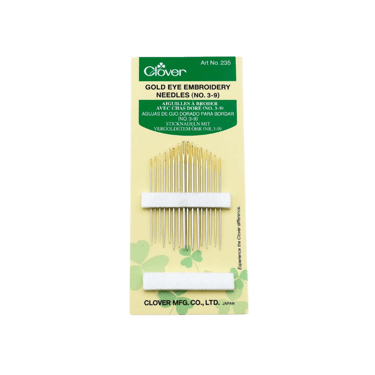
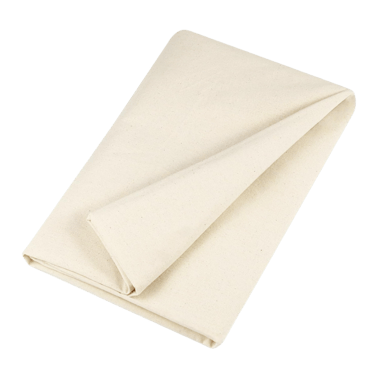
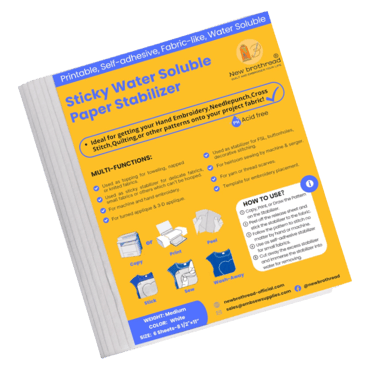
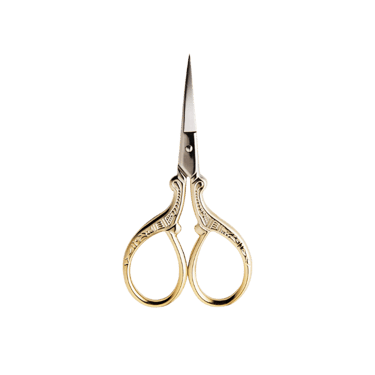
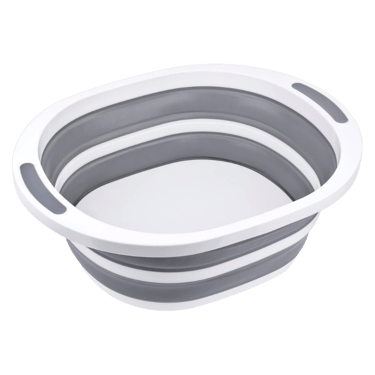
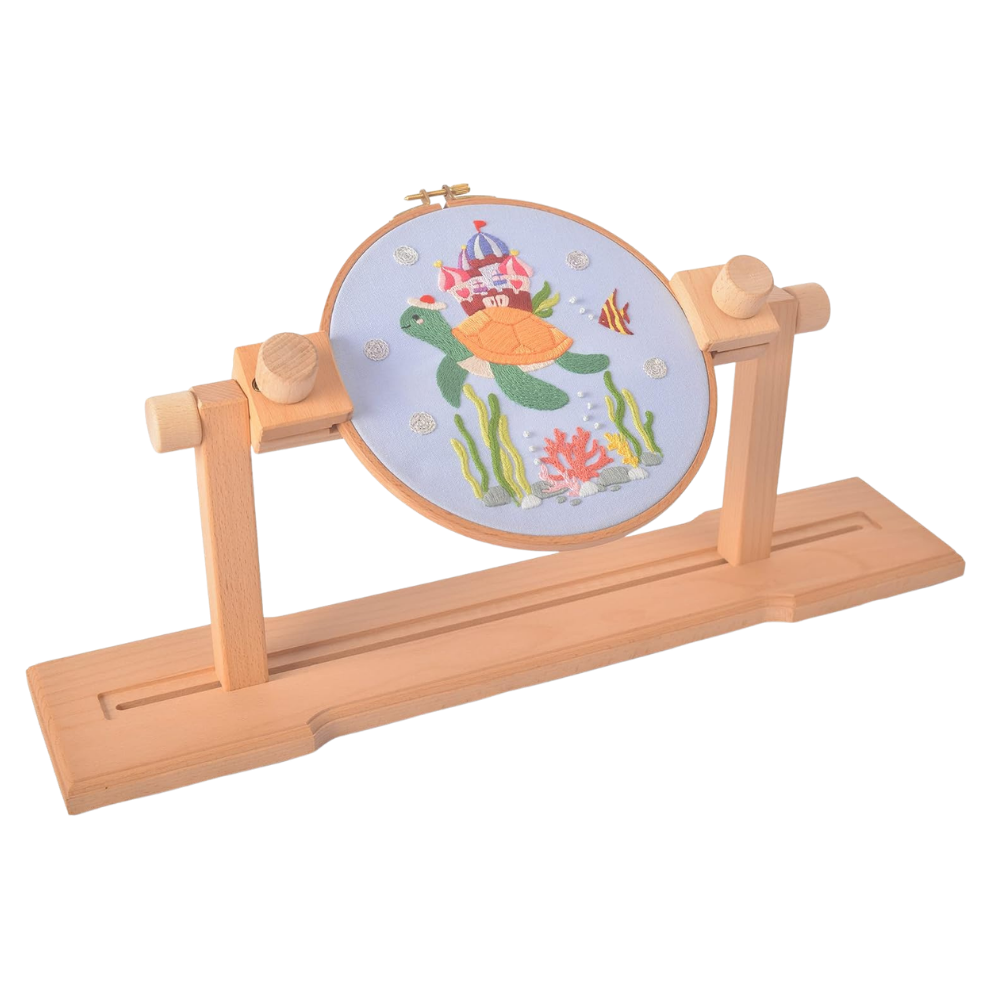
Basin to wash and remove pattern stabilizer
I have included shopping links for each of the supplies listed below. Some of these are Amazon affiliate links, which means I may earn a small commission if you make a purchase through them, at no additional cost to you.
Please feel free to use the supplies and tools you already have, or choose other brands that work best for your budget and preferences.
Color Palette
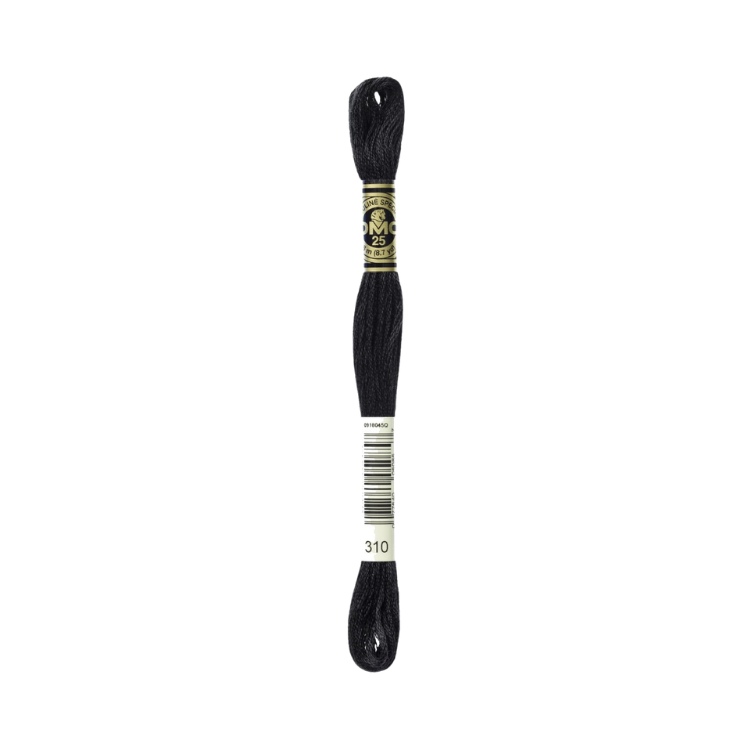
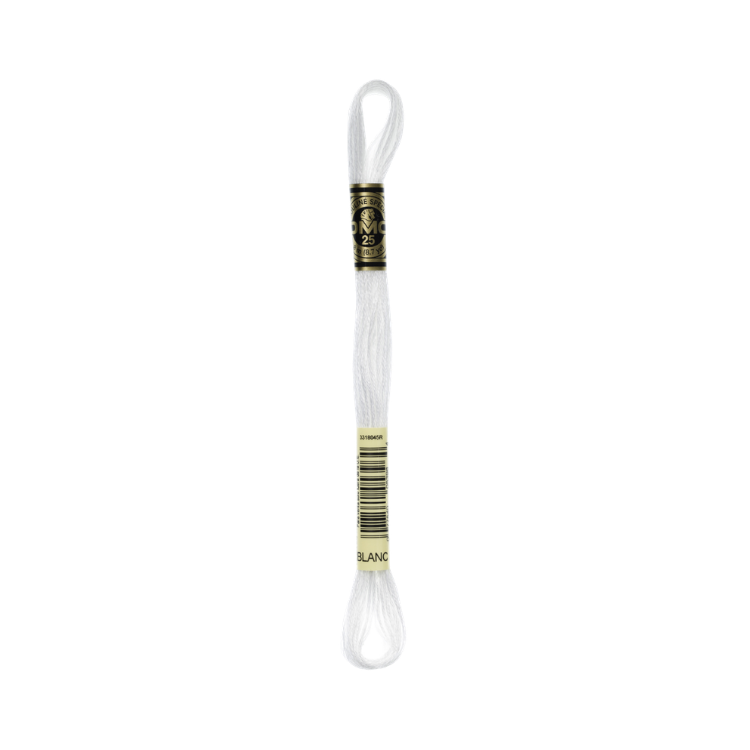
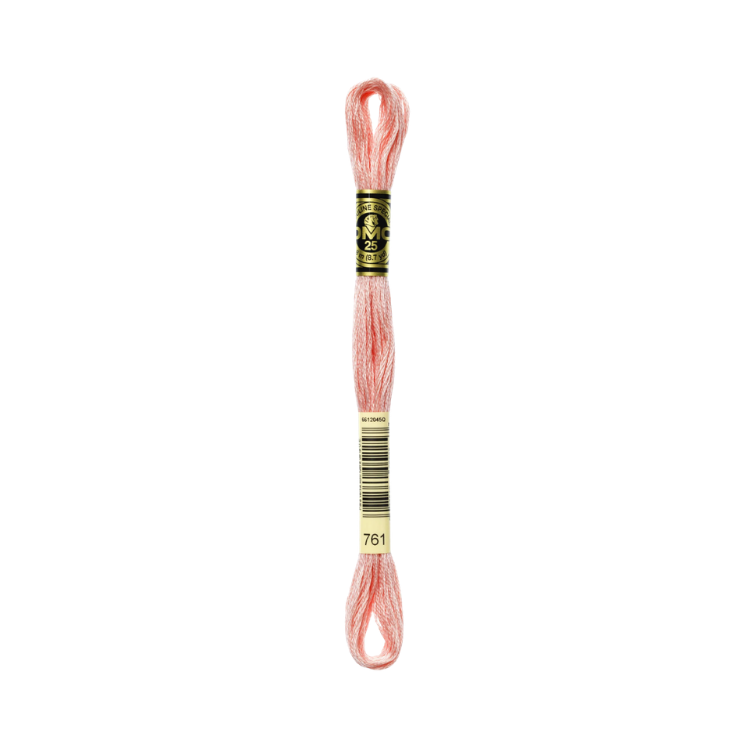
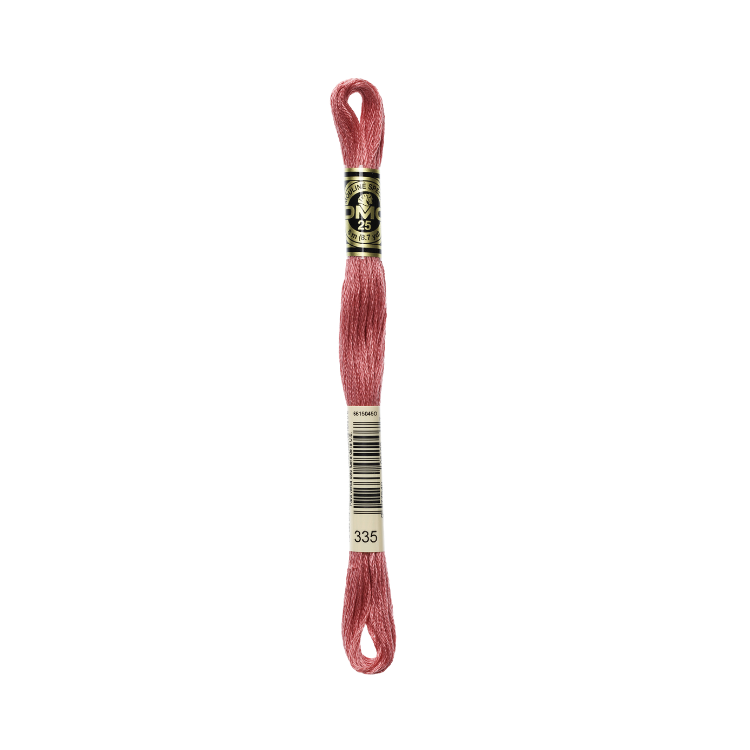
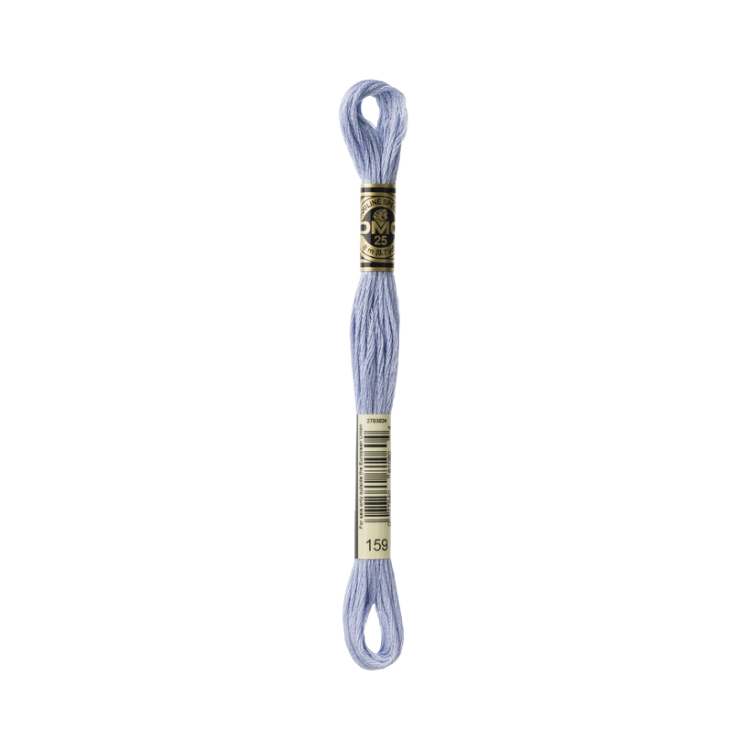
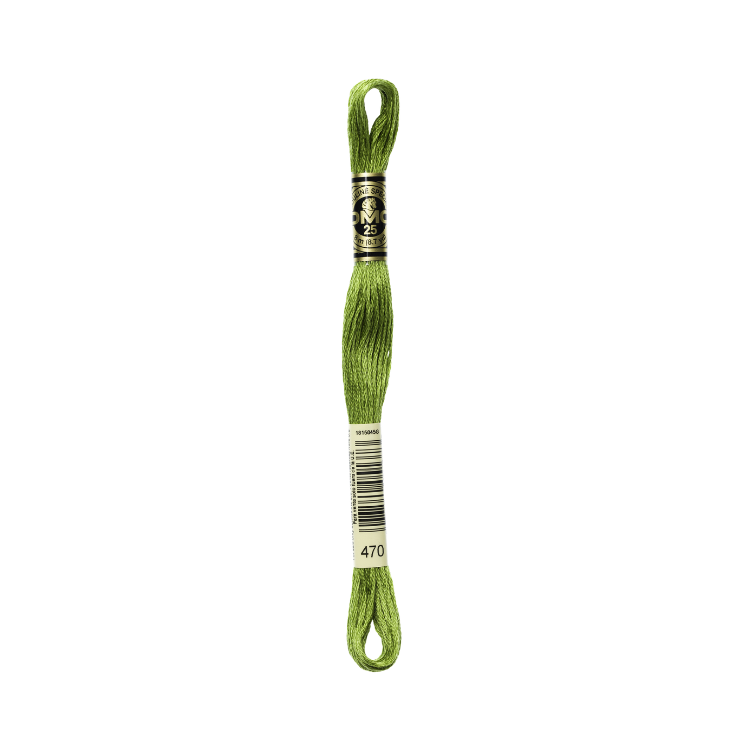
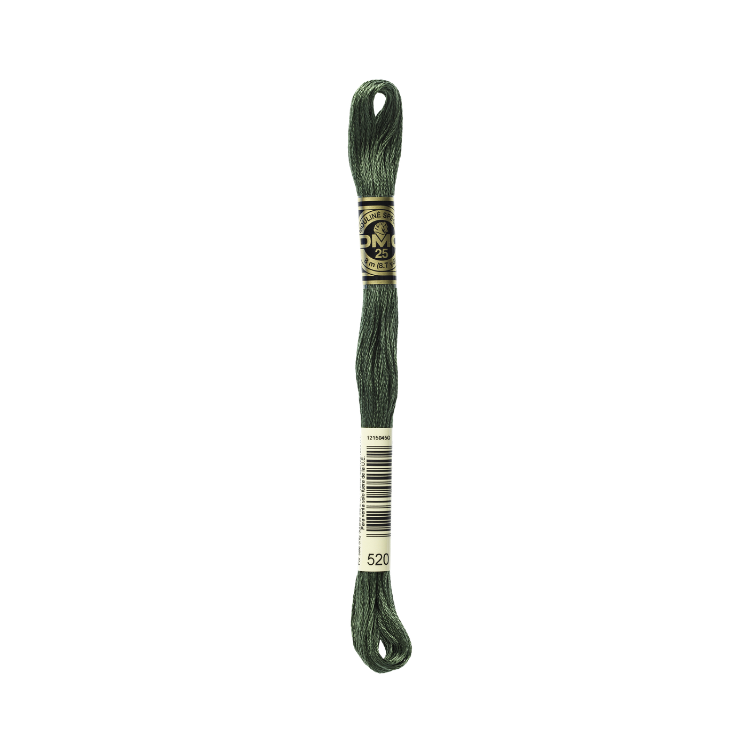
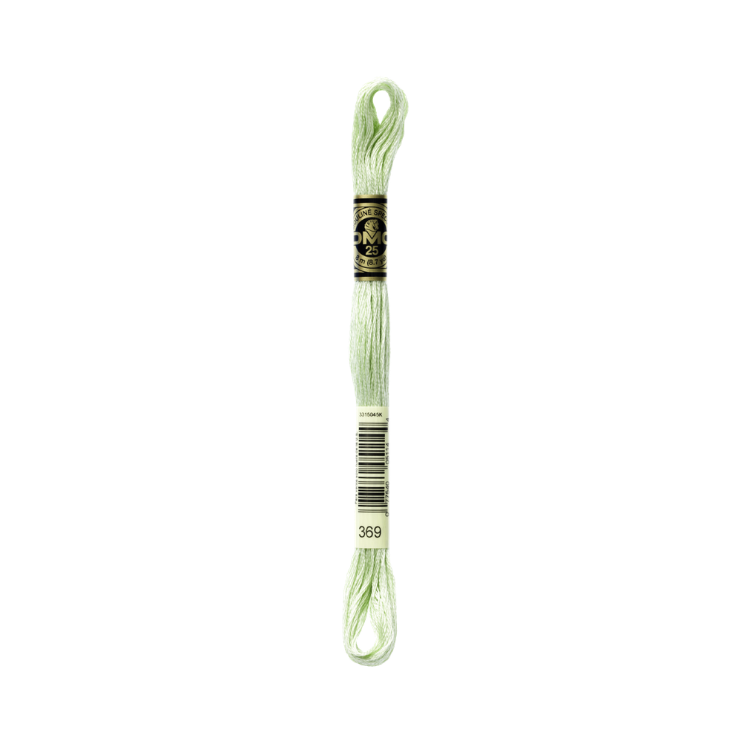
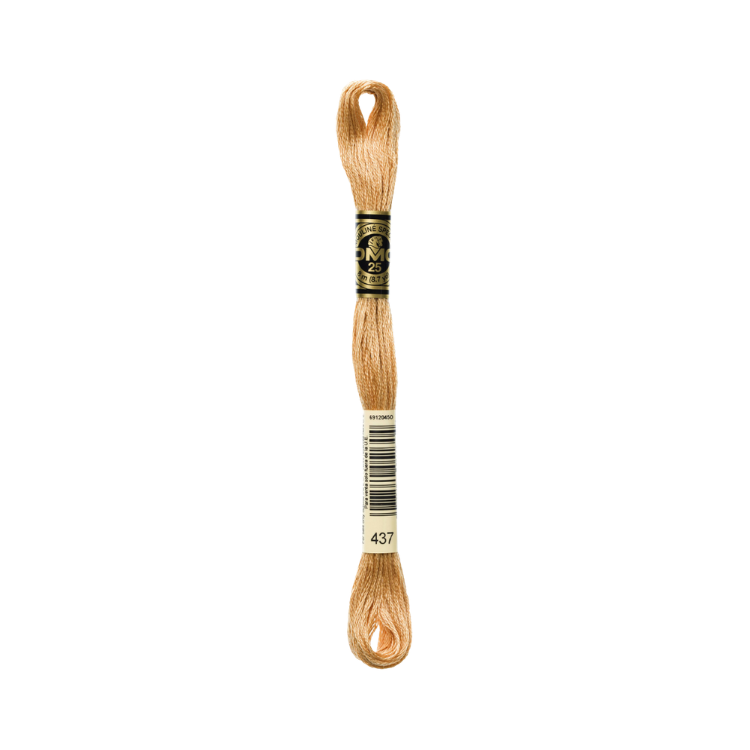
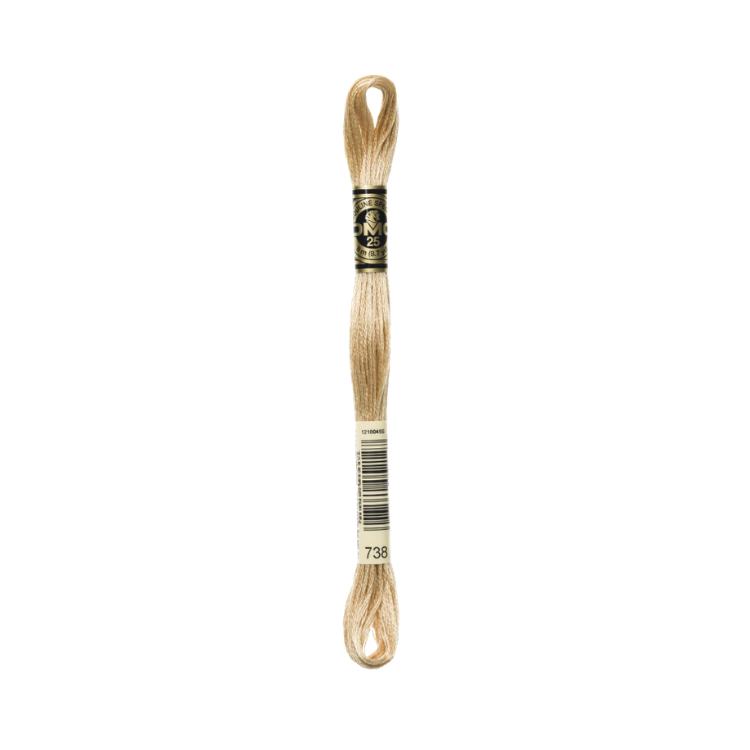
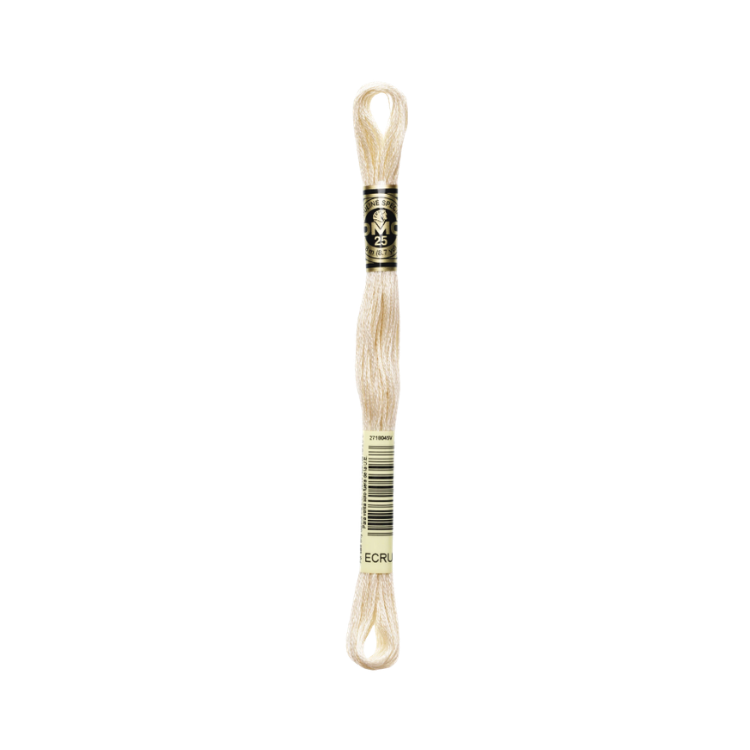
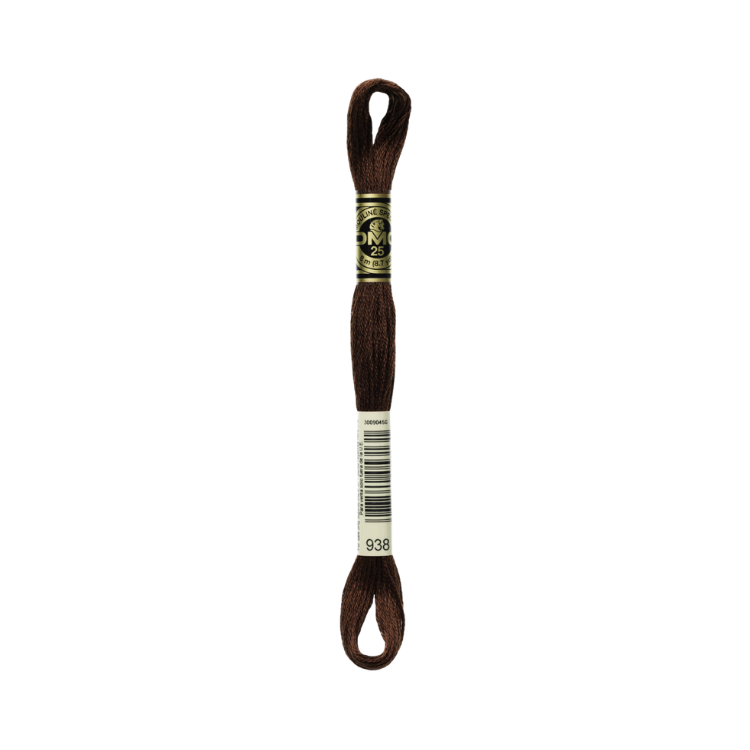
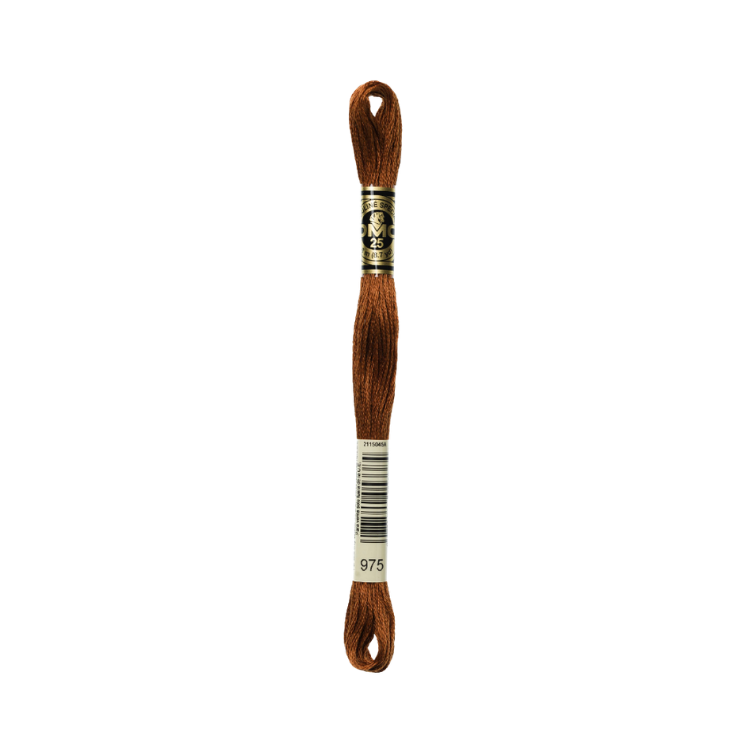
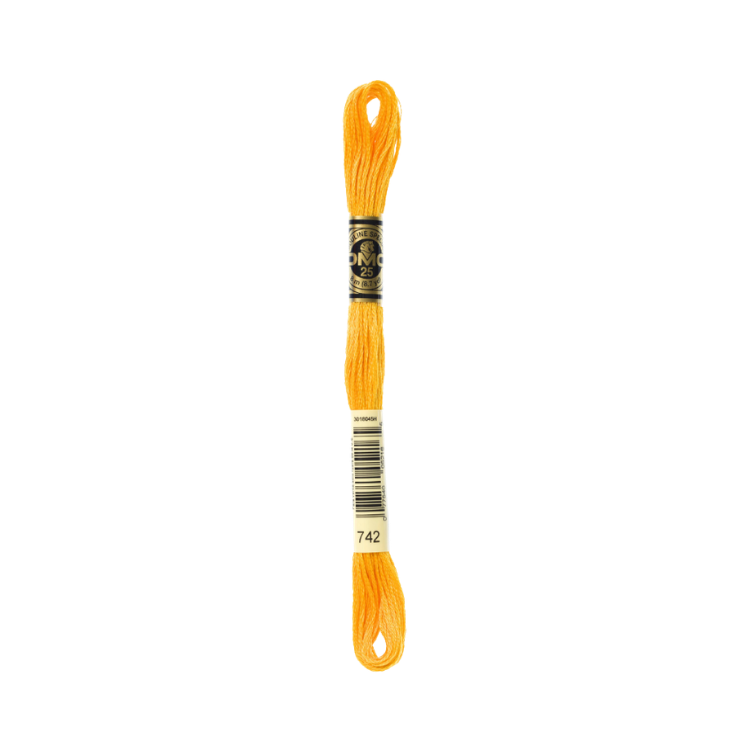
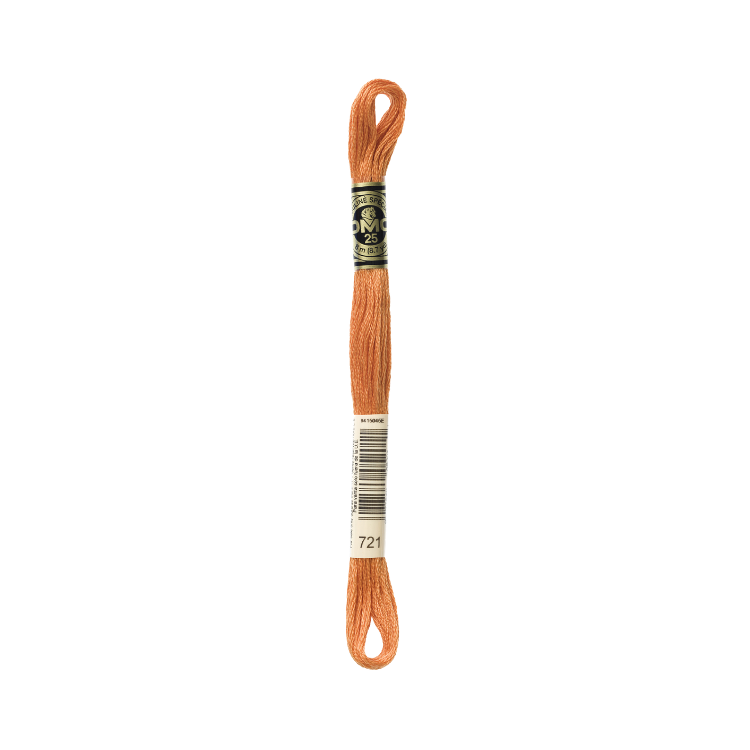
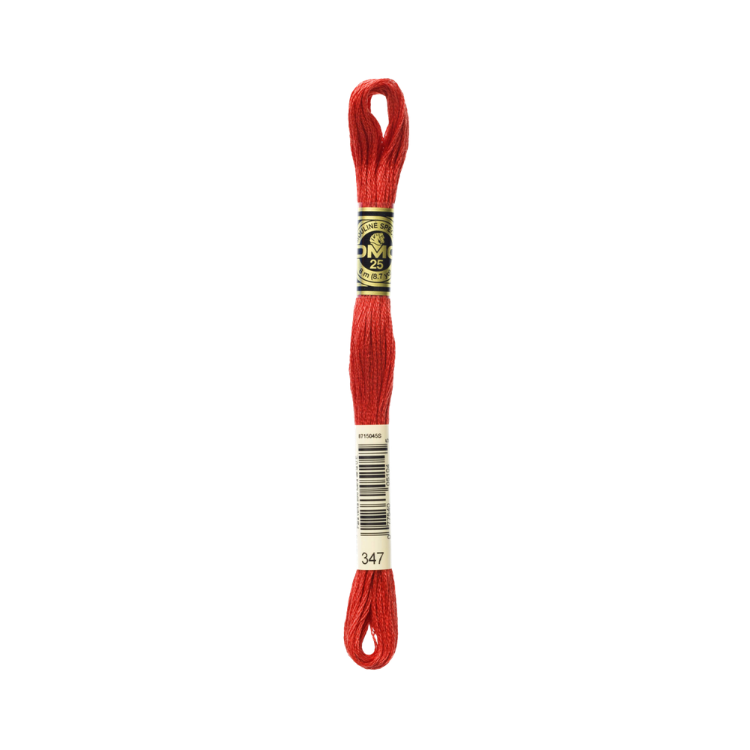
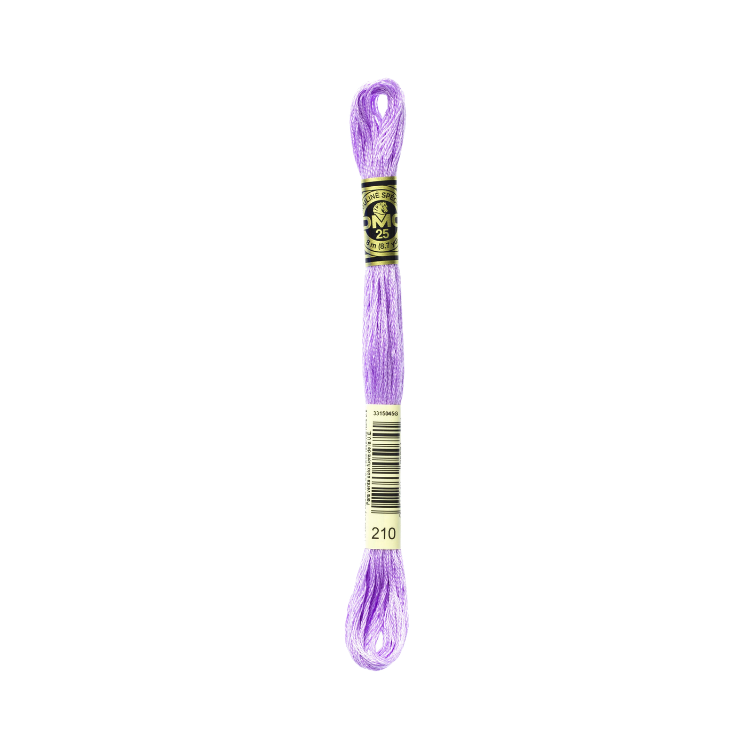
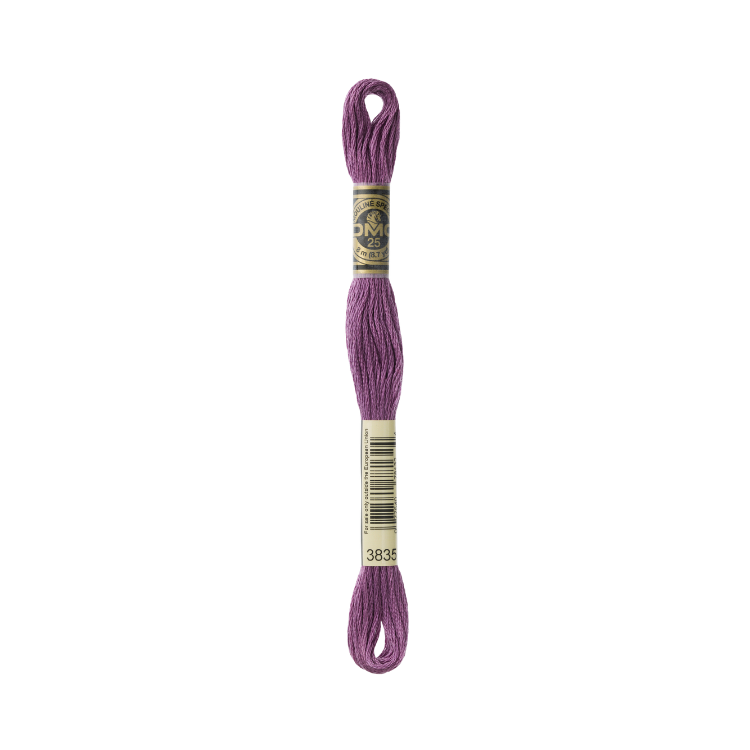
For an embroidery design of this size, I intentionally reused a few colors throughout the piece to keep it colorful and cohesive while still making the number of floss colors manageable. You can definitely add, reduce, or replace colors depending on your personal preference, so feel free to have fun with the design and make it your own!
I used DMC six-strand cotton embroidery floss for this project. DMC floss is available at Michaels, on Amazon, or directly from the official DMC website.
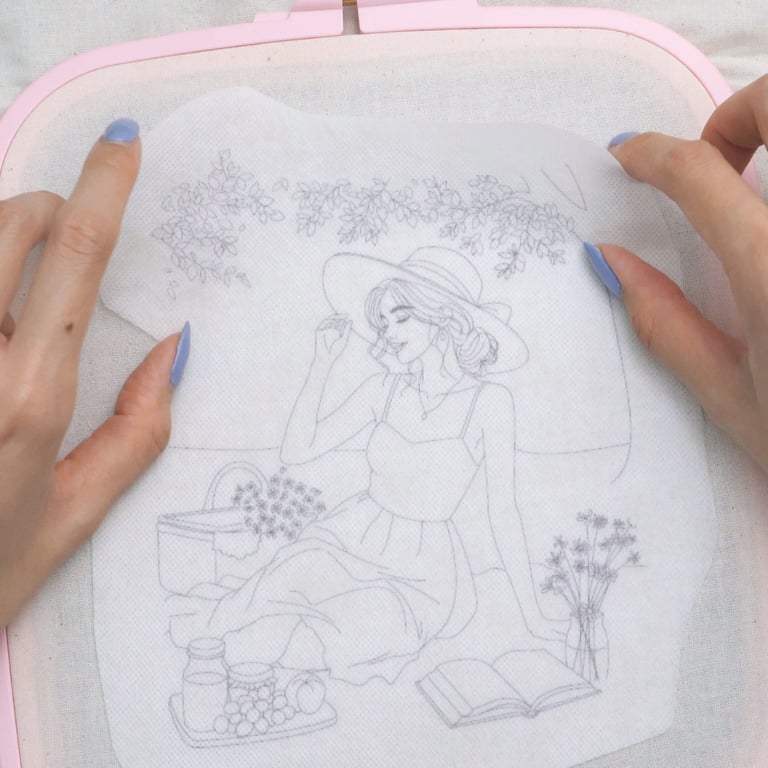
Transferring Pattern
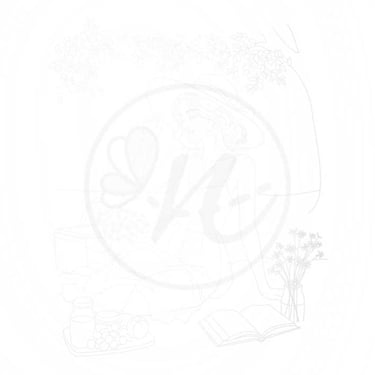
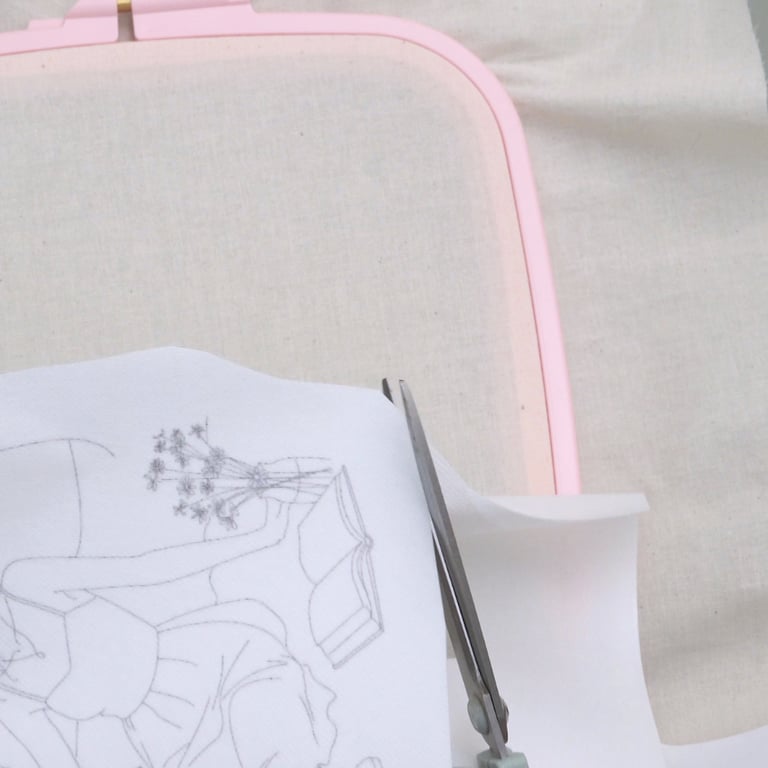
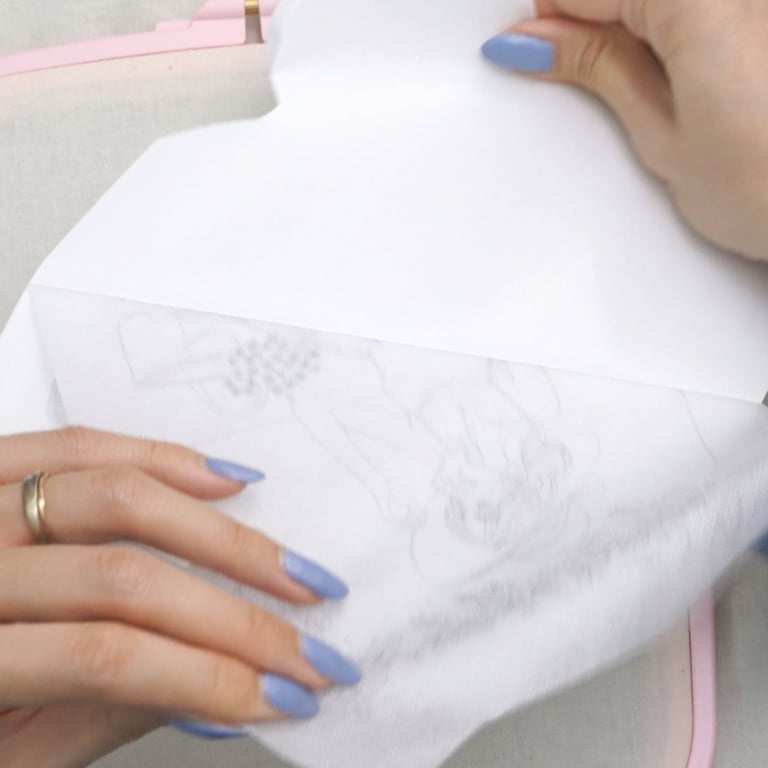
To transfer the pattern, print the design onto a sticky water soluble stabilizer sheet. Carefully peel off the backing, then position the stabilizer on your fabric, making sure the design is centered and smooth. Once it is in place, press it firmly onto the fabric so it adheres securely. Try to avoid stretching the fabric as you press, and smooth out any bubbles or wrinkles before you begin stitching.
I’m using New Brothread stabilizer, which you can find here. This is an affiliate link, which means I may earn a small commission if you purchase through it, at no extra cost to you.
Stitches Glossary
Girl
Outline: Backstitch
Facial features: Straight stitch
Sundress: Satin stitch and French knots
Sunhat: Brick stitch and long-and-short stitch
Hair: Free-form stitches
Necklace and earrings: Backstitch and straight stitch
Book
Covers: Padded satin stitch
Outlines: Backstitch
Flower Vase
Outline and water line: Backstitch
Flowers and leaves: Satin stitch
Stems: Stem stitch
Flower centers: French knots
Fruit and Jam Board
Outlines: Backstitch
Serving board: Padded satin stitch and satin stitch
Peach and grapes: Padded satin stitch
Orange juice: Free-form satin stitch
Jam jar cover: Basketweave stitch, satin stitch, and cast-on stitch
Juice bottle cover: Satin stitch and cast-on stitch
Picnic Basket
Outline: Backstitch
Basket texture: Basketweave stitch and whipped backstitch
Cloth: Chain stitch
Flower bundle: Cast-on stitch and straight stitch
Tree
Bark and branches: Split stitch
Leaves: Satin stitch
Picnic Mat (Optional)
Outline: Backstitch
Stripes: Whipped backstitch
Grass and Wildflowers (Optional)
Grass: Straight stitch
Wildflower stems: Backstitch or whipped backstitch
Wildflower petals: Cast-on stitch
Below is a stitch glossary organized by design area. Use this as a quick reference while stitching, especially if you are following along with the video tutorial. Each section lists the stitches used for the main details in that part of the embroidery.
This design uses a mix of basic and advanced embroidery stitches. In this post, I’ll go into more detail for a few techniques that are specific to this design, but I won’t be explaining every basic stitch step by step.
If you are new to embroidery or need a refresher on foundational stitches, I recommend reading my basic embroidery stitch guide first:
Read the Basic Embroidery Stitches Guide Here
That guide covers beginner-friendly stitches such as backstitch, straight stitch, satin stitch, stem stitch, French knots, and more. Once you feel comfortable with those basics, you can come back to this tutorial and follow along with the Summer Picnic design more easily.
Stitching Notes
1. Outlines:
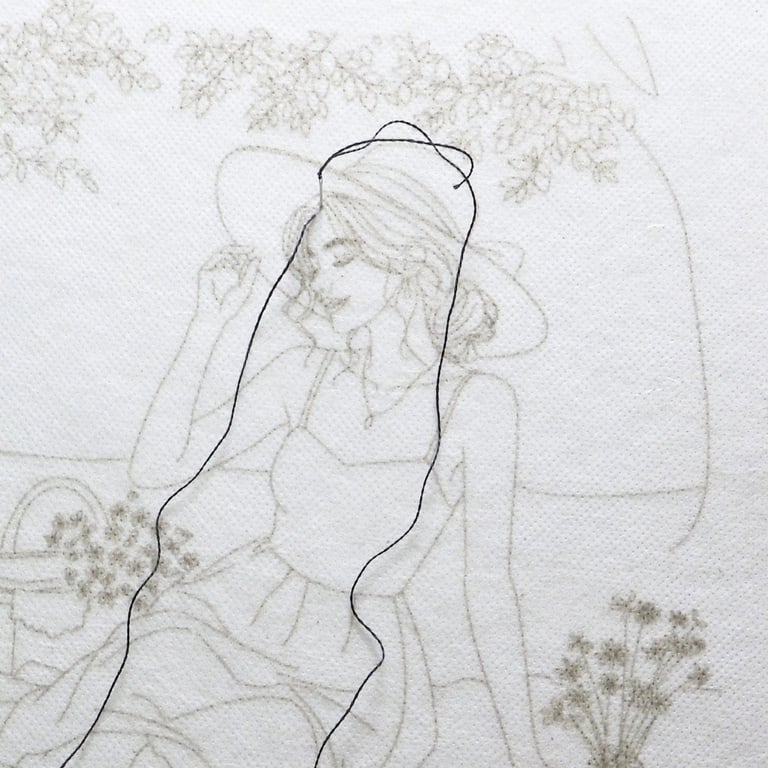
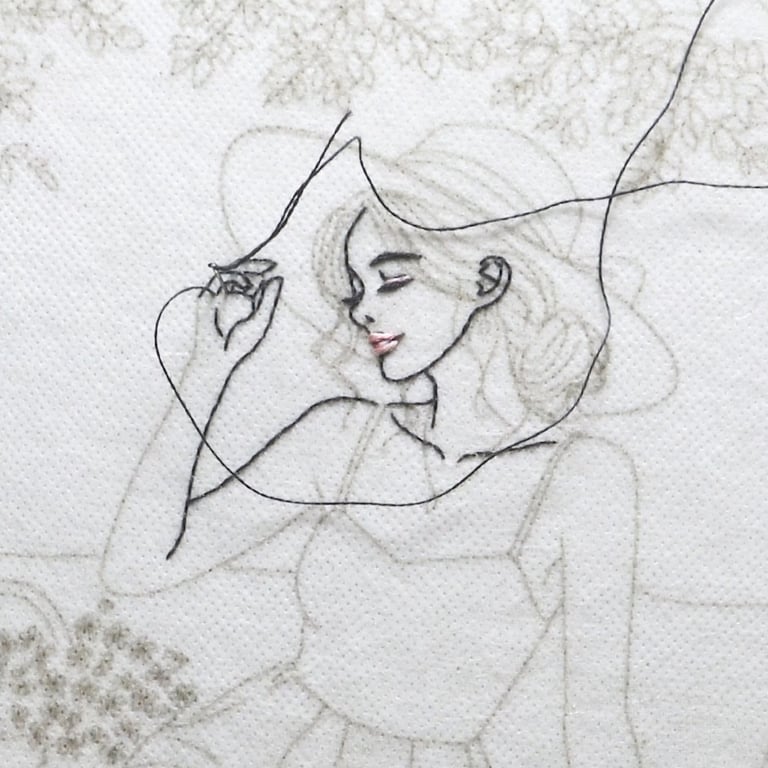
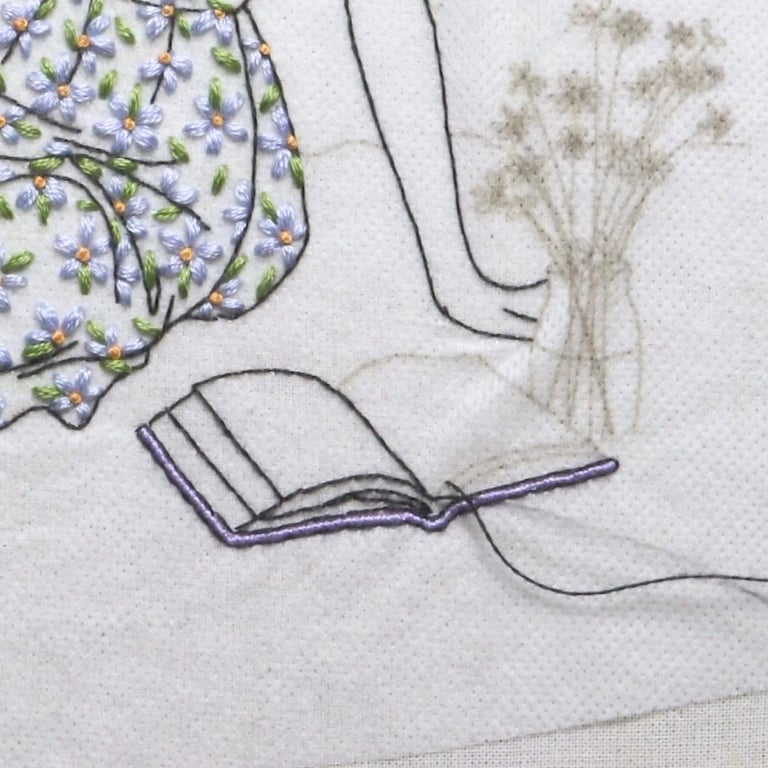
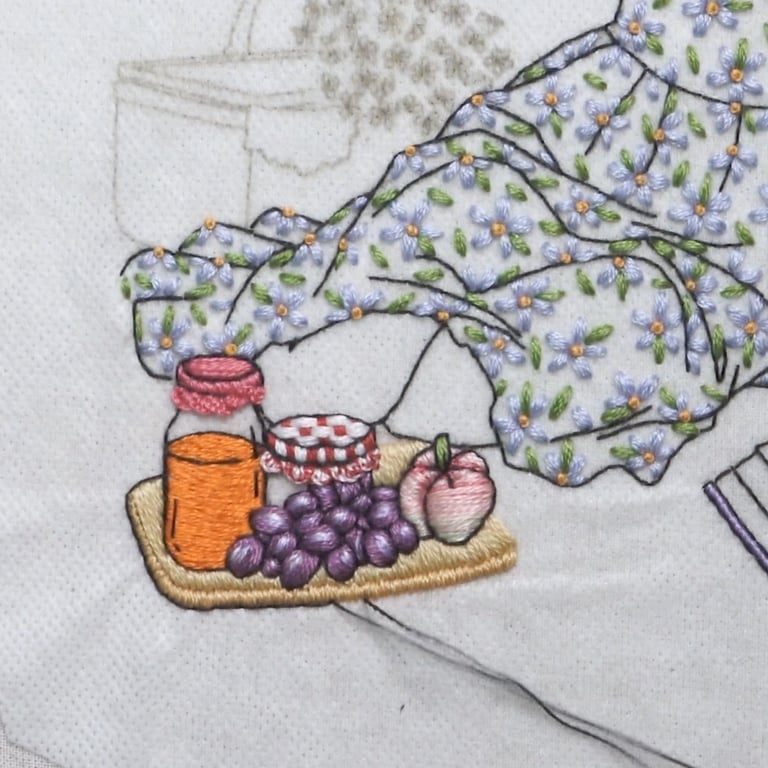
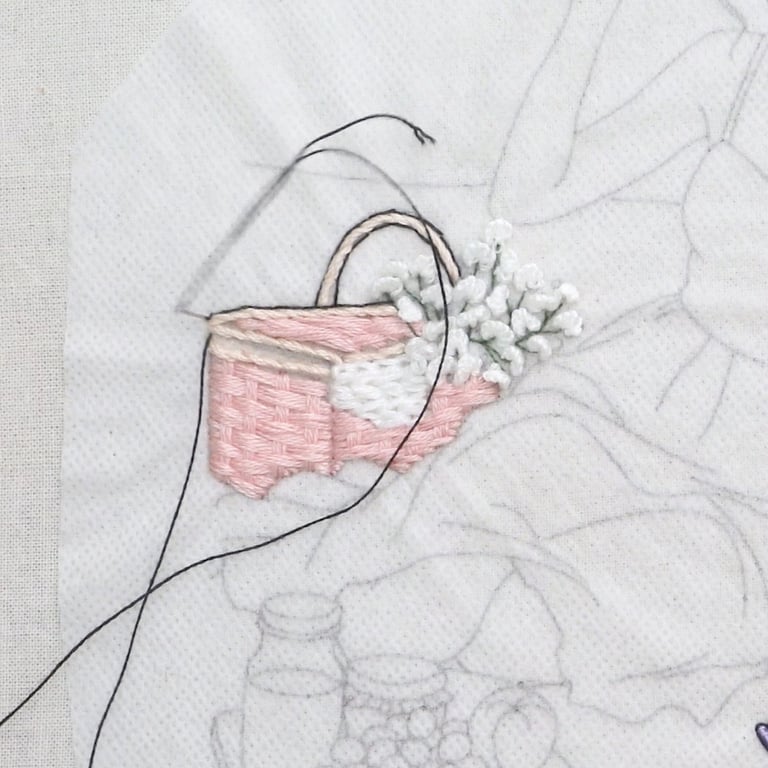
Throughout this embroidery, use one strand of DMC 310 and back stitch to create the outlines. This keeps the lines delicate and prevents the details from looking too heavy.
The stitching notes below highlight a few specific details and techniques that I think are especially helpful to explain in writing.
For the remaining sections of the embroidery, please refer to the video tutorial, where you can watch the stitching process in more detail. The on-screen captions will guide you through the number of strands, stitch types, and additional notes for each part of the design.
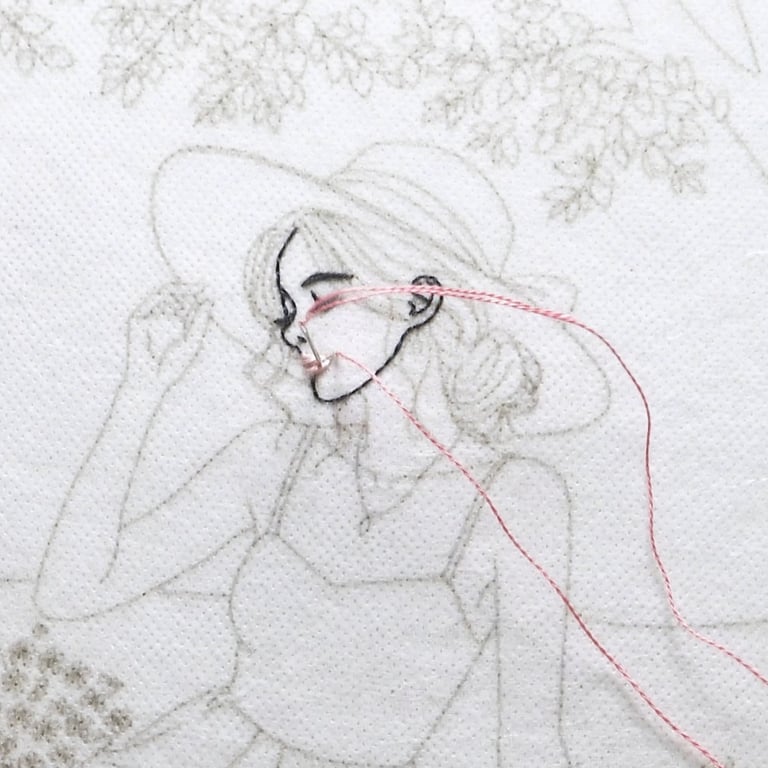
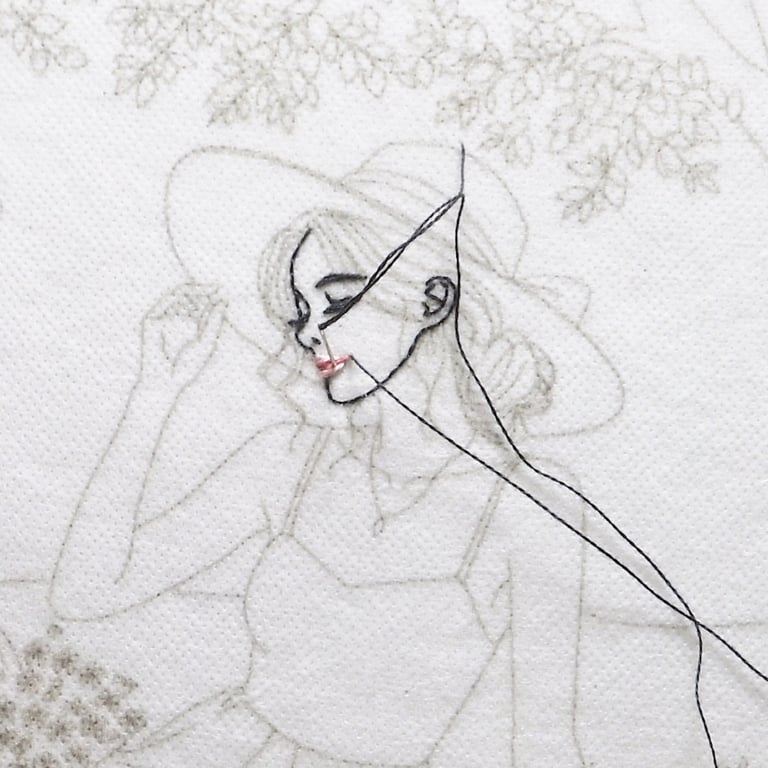
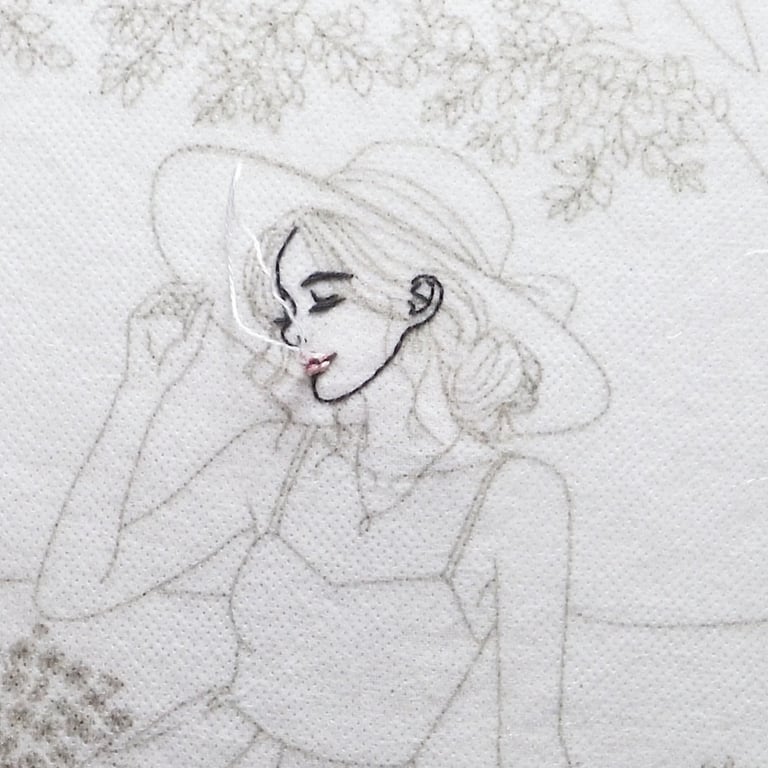
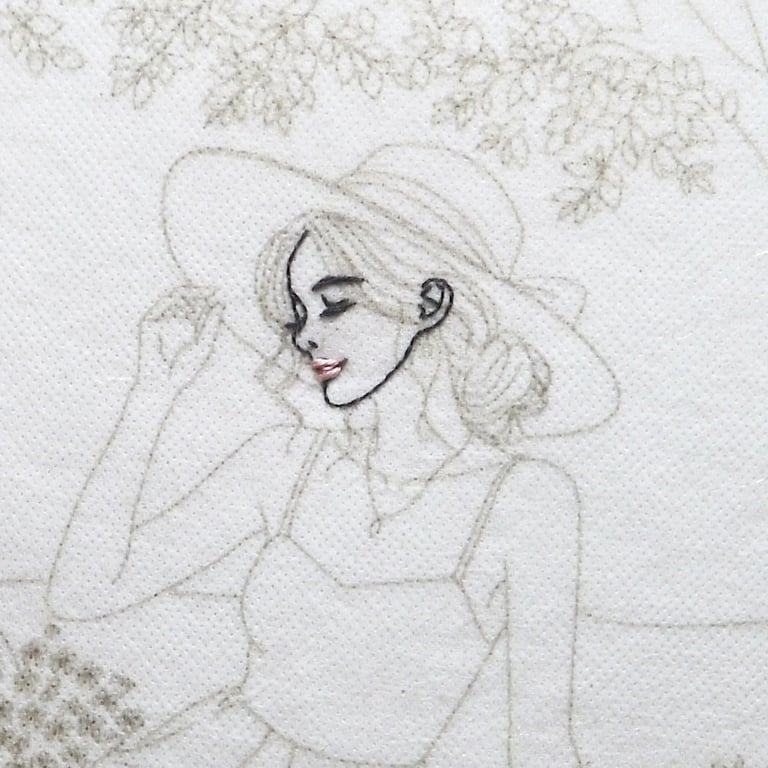
2. Facial Features:
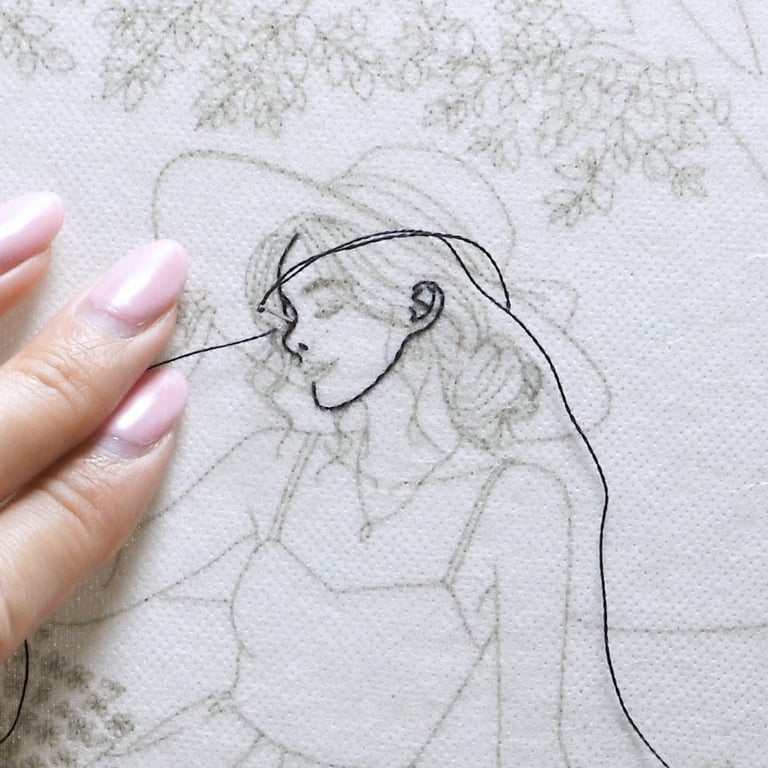
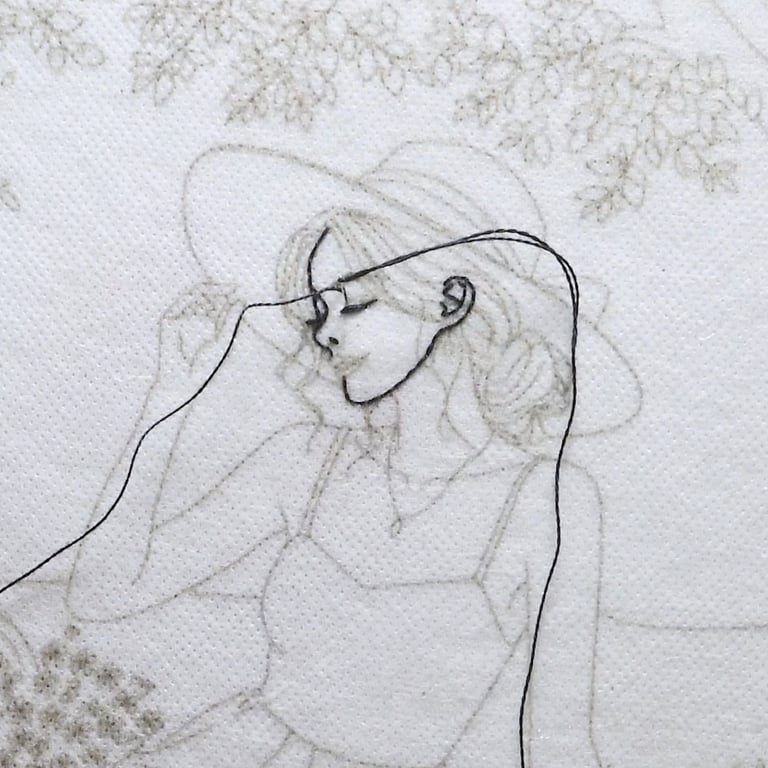
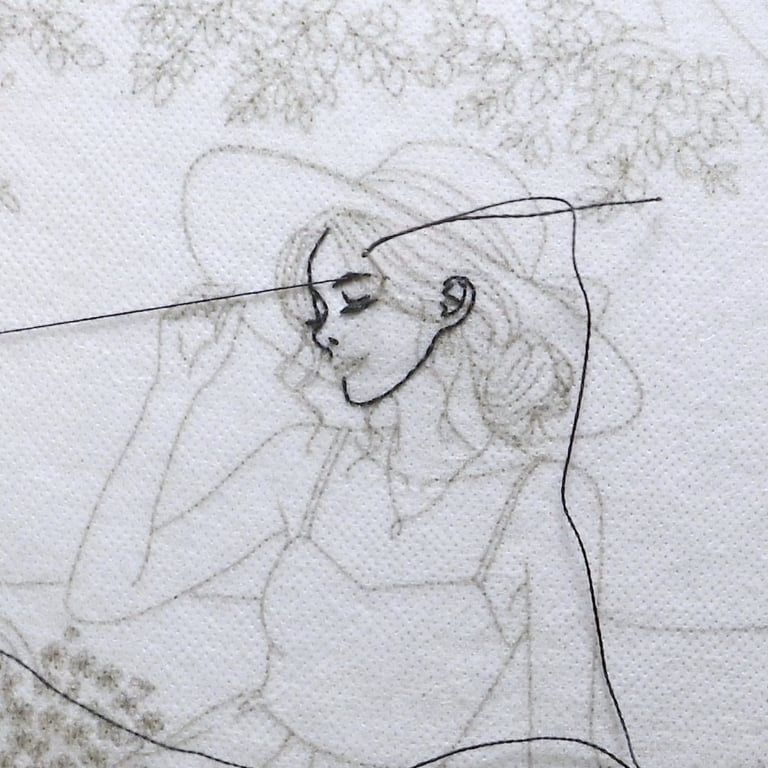
We will use one strand of DMC 310 and straight stitch to embroidery facial features.
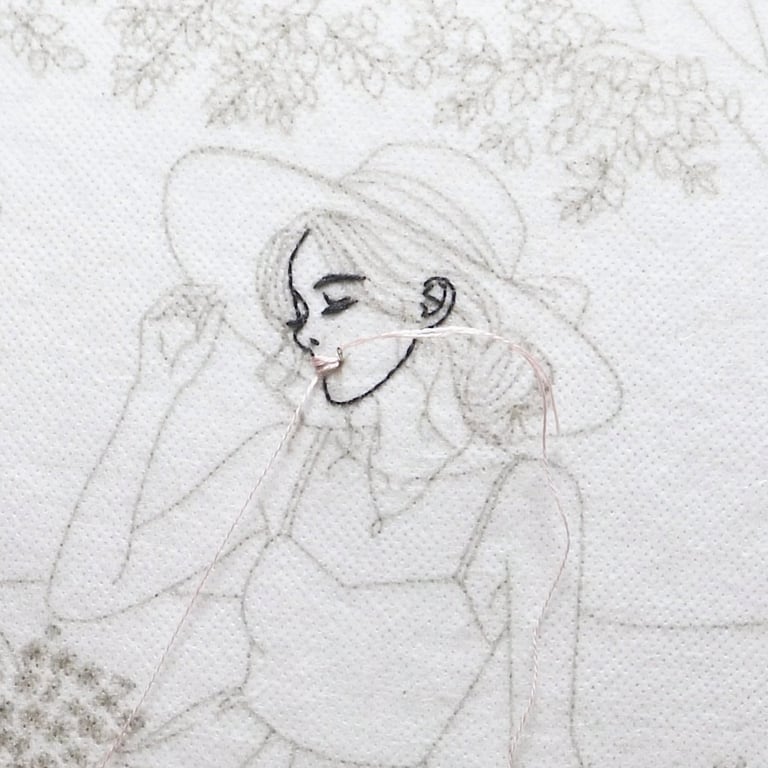
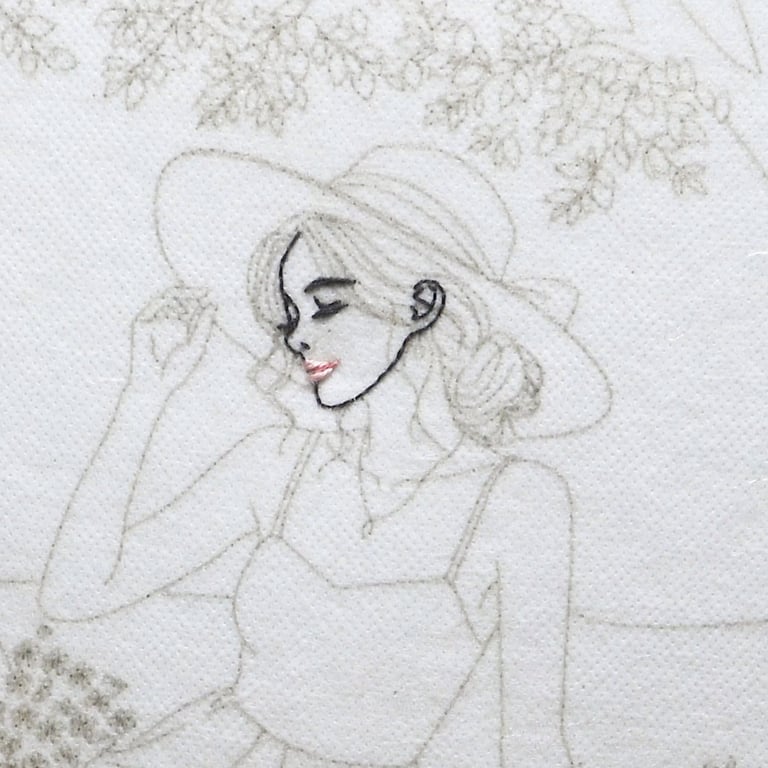
Next, use one strand of DMC 761 and straight stitch to fill in the lips. Then, use one strand of DMC 335 and DMC 310 to create the smile line and separate the lips.
I also used one strand of DMC Blanc to add a tiny straight stitch along the smile line, creating the suggestion of teeth and making her look like she is smiling slightly. This step is optional, so feel free to skip it if you do not feel comfortable stitching such a small detail.
3. Sundress:
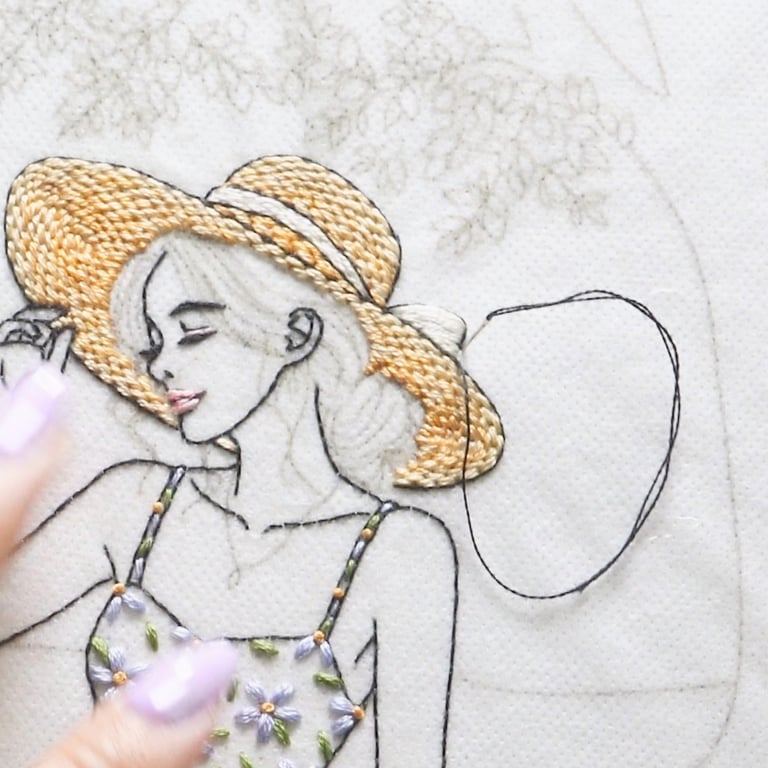
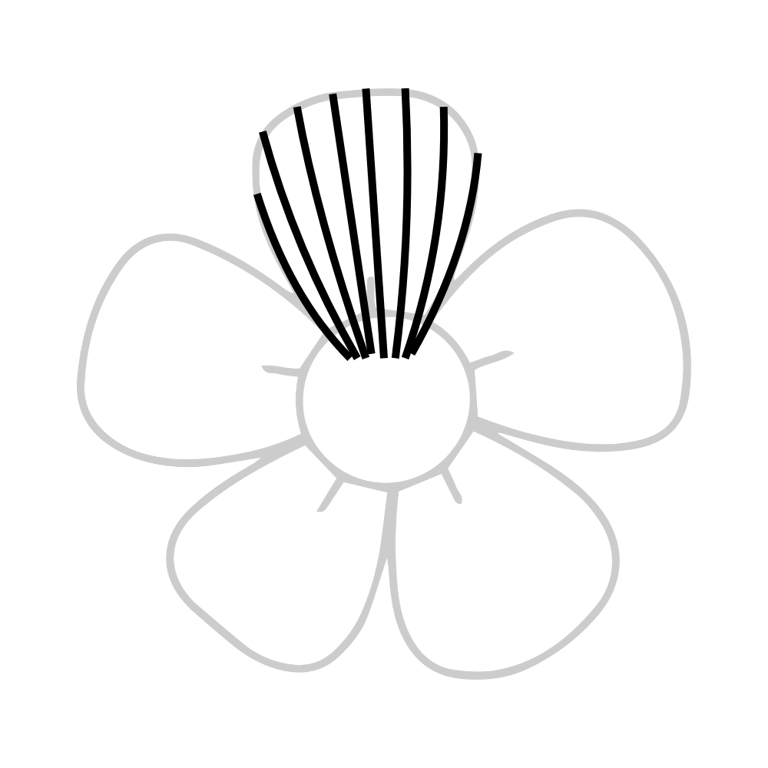
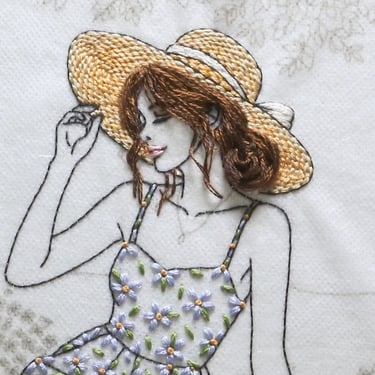
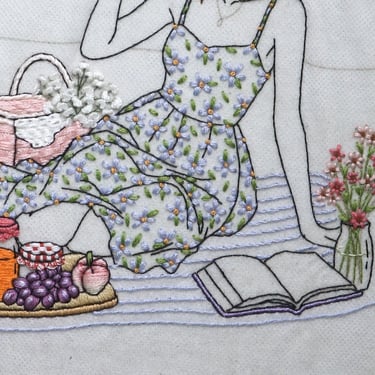
After outlining the sundress with one strand of DMC 310 and back stitch, begin embroidering the flower petals with three strands of DMC 159 and satin stitch. Each flower has five petals, arranged in the map shown below. You can experiment with the flower placement and create your own version of the floral sundress.
After embroidering the flowers, use three strands of DMC 470 and satin stitch to add leaves sporadically around the flowers on the sundress.
Note that the satin stitch shapes for the petals and leaves are slightly different. The flower petals should have a teardrop shape, with one rounded end and one pointed end. The leaves, on the other hand, should be pointed on both ends.
Keep this difference in mind as you stitch, and adjust your satin stitch technique slightly for each shape. For the petals, fan the stitches slightly so they create a soft rounded edge. For the leaves, angle the stitches toward the center point so both ends come to a clean point.


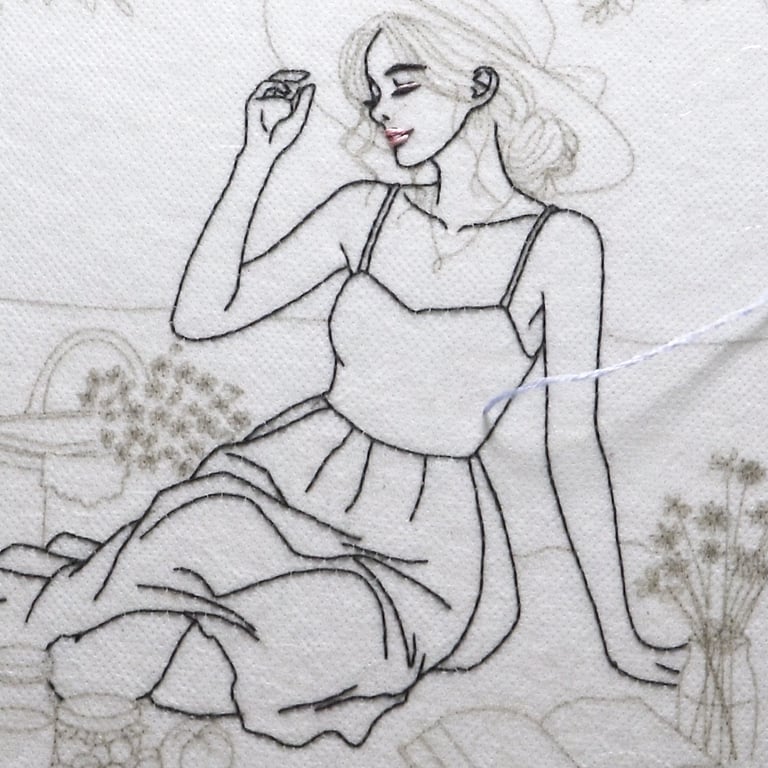
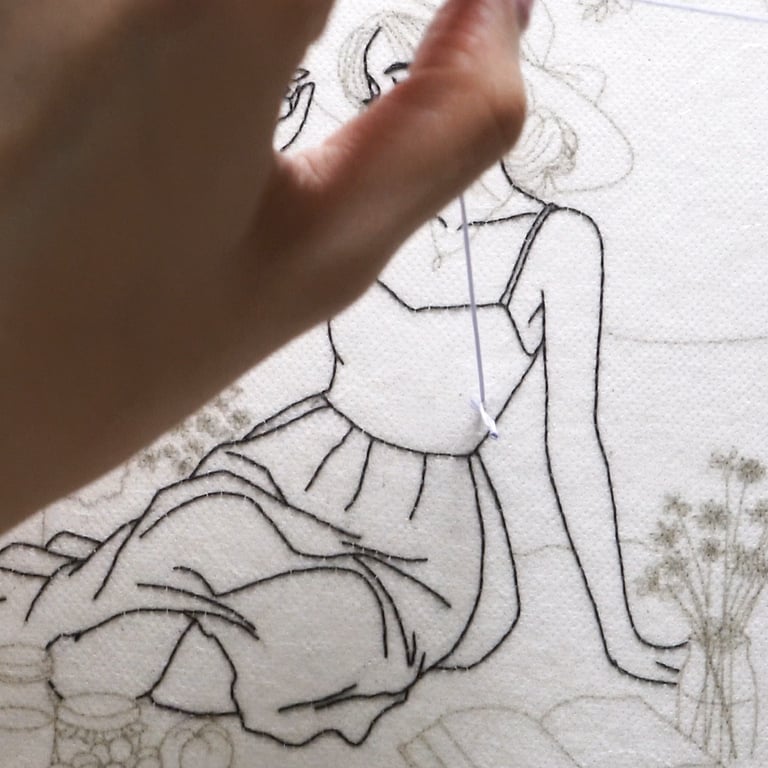
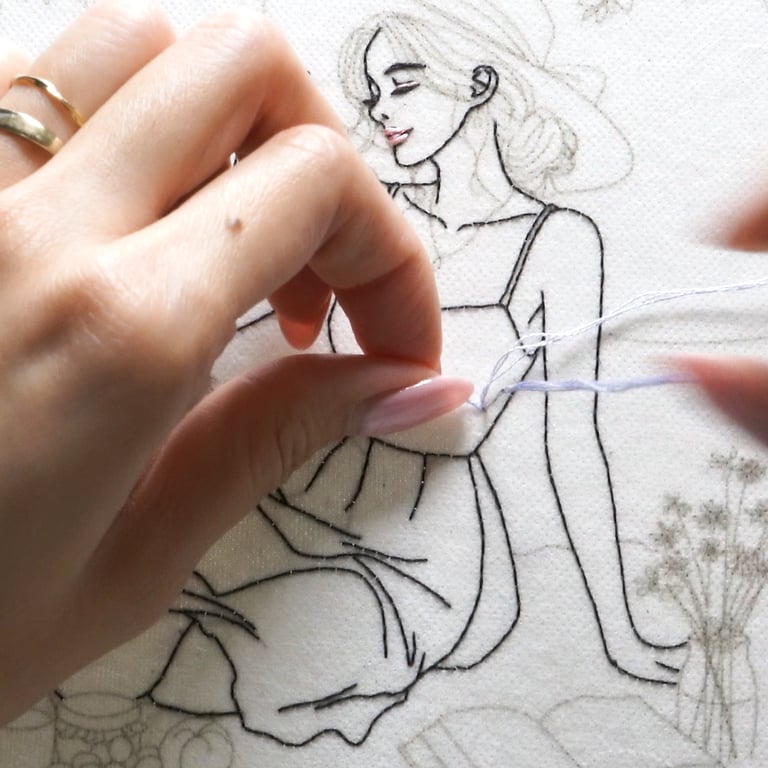
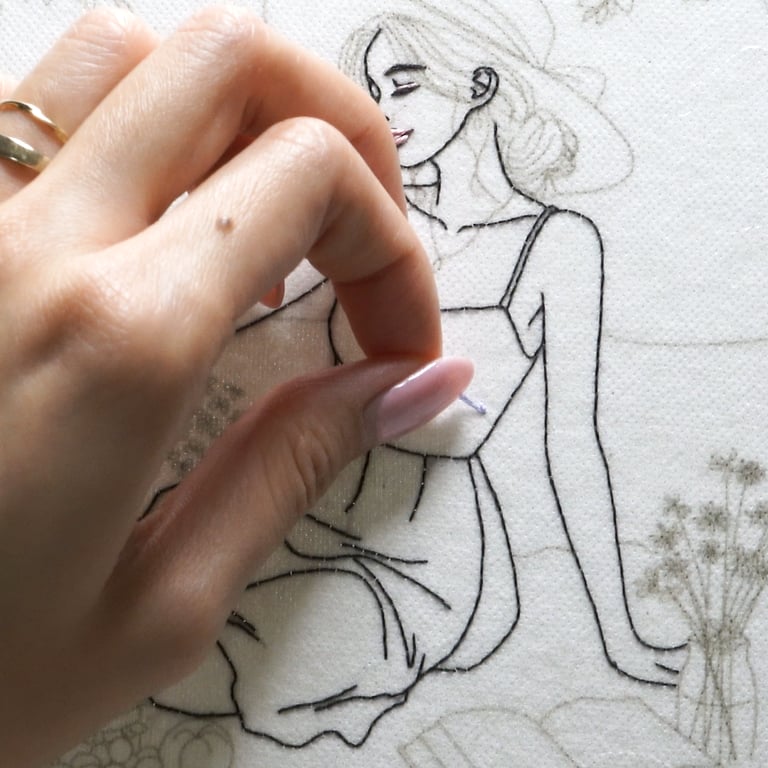
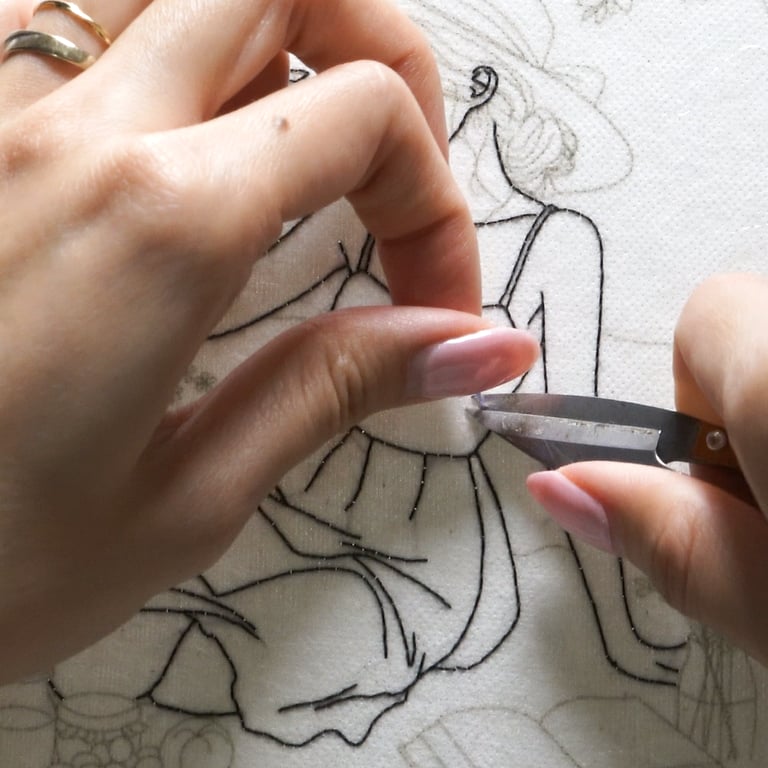
Before stitching the flowers, anchor the floss on the fabric instead of starting with a large knot on the back. This is especially helpful when using more strands of floss, as it keeps the back of the embroidery cleaner and prevents bulky knots from loosening and causing the stitches to unravel.
To do this, bring the needle down from the front of the fabric, leaving a tail of floss long enough to hold onto. Then, make a couple of small straight stitches on top of each other to secure the floss to the fabric. Once the thread is secure, trim off the tail.
Make sure the anchoring stitches are small enough to be covered by the stitches you add later. Once you embroider over them, the anchoring stitches will be hidden. You can use this method for satin stitch, filling stitches, or any other stitch that will cover the anchored thread.

After that, use three strands of floss 742 and French knots to embroider the center of the flowers.
4. Sunhat
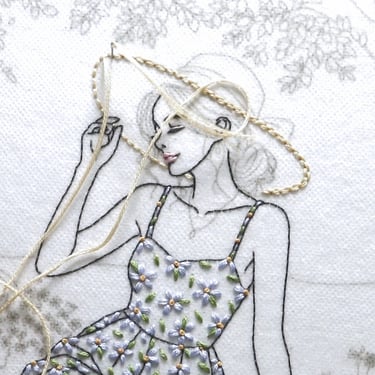
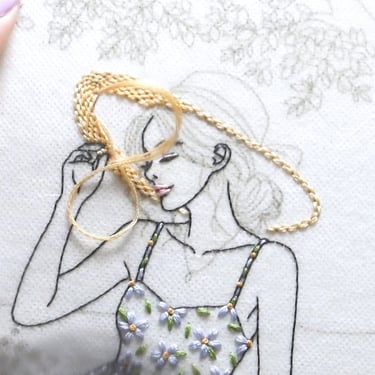
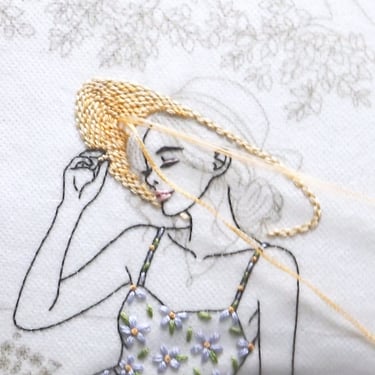
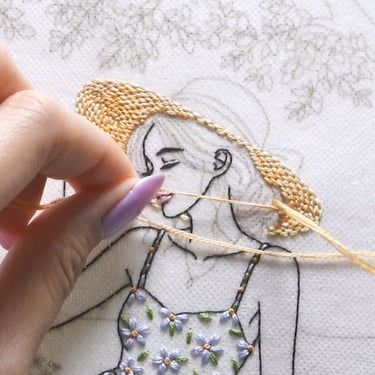
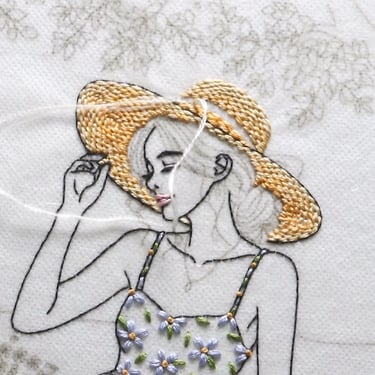
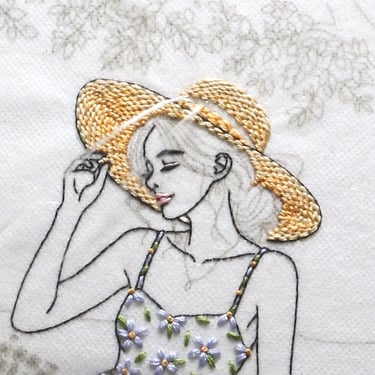
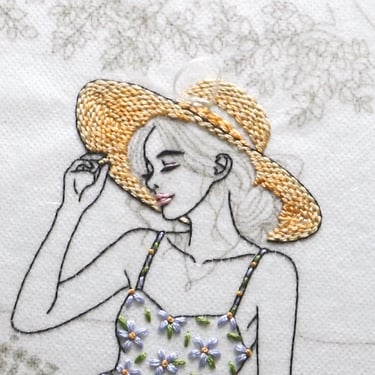
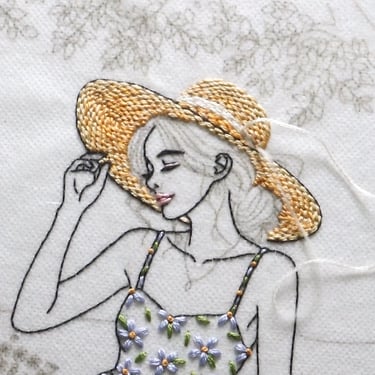
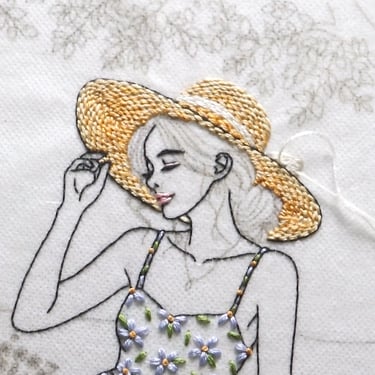
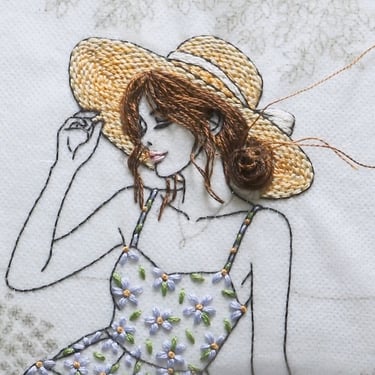
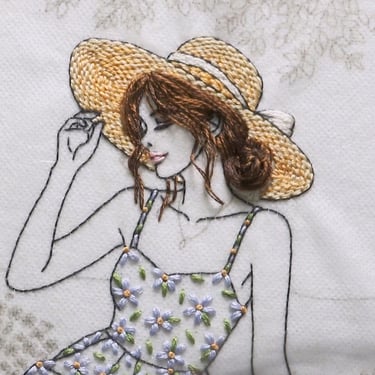
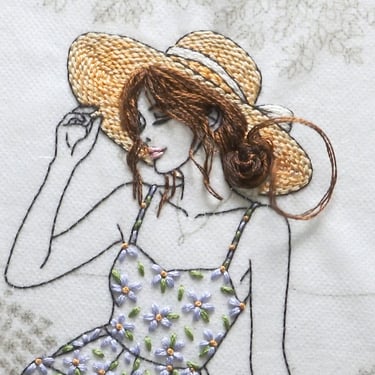
Begin embroidering the sunhat from the outer edge of the brim and work inward. Start with four strands of DMC 738 and brick stitch, creating about three to four rows of stitches.
To add more depth and dimension to the hat, gradually blend DMC 738 with DMC 437 as you move inward. Start with a blend of three strands of DMC 738 and one strand of DMC 437, then switch to two strands of each color. This will make the inner part of the brim appear slightly darker, giving the hat more shadow and shape.
When embroidering the crown of the hat, reverse the color blend as you move toward the top: start with two strands of DMC 738 and two strands of DMC 437, then switch to three strands of DMC 738 and one strand of DMC 437, and finally use all DMC 738 near the top. This gradual color change helps the hat look more natural, dimensional, and lively.
For the ribbon and bow tie, I’m using two strands of DMC ECRU and free-form long-and-short stitch. This flexible stitching method allows the stitches to follow the shape and curves of the bow, creating a softer, more natural-looking fill.
5. Hair
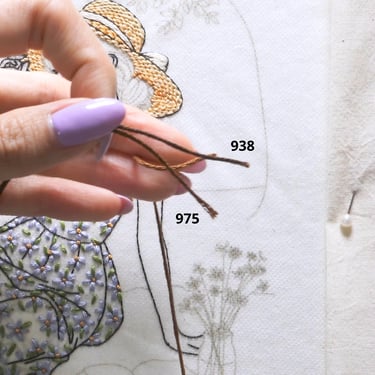
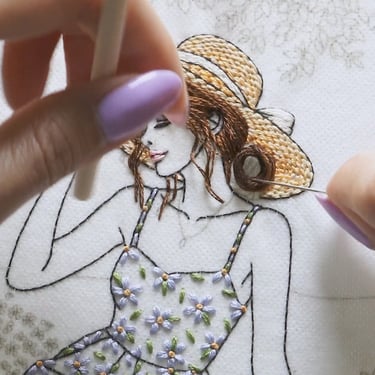
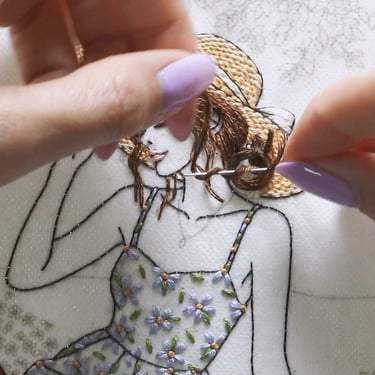
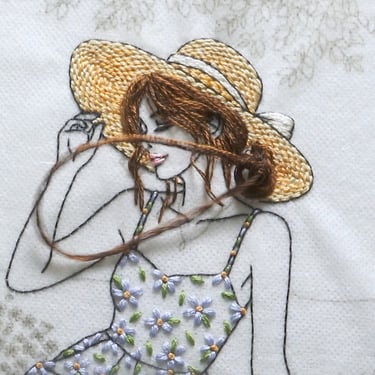
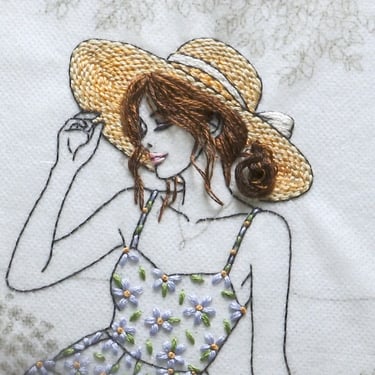
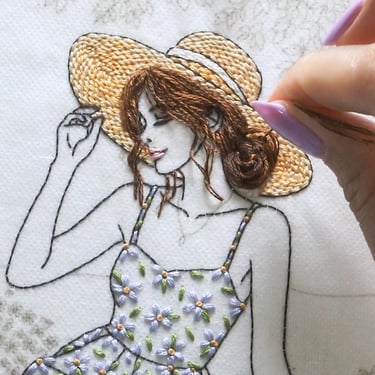
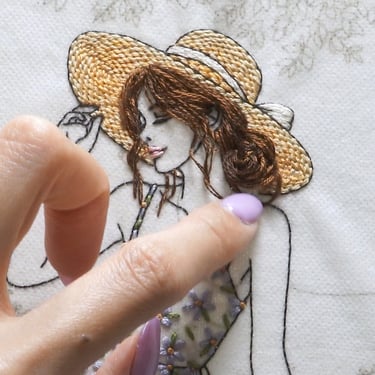
The hair is probably the trickiest part of this embroidery and requires a bit of patience and creativity. To make the hair look more lively and dimensional, I blended a dark brown and a lighter brown together. I used one strand of DMC 938 combined with one strand of DMC 975. I will refer to this blended thread as Floss A.
You will also need a separate needle threaded with one strand of either brown shade. This thread will be used to stitch down and secure the hair strands, almost like a couching stitch. I will refer to this as Floss B.
First, use Floss A to come up from the hair parting. Gently twist the thread to create a slight curl in the hair. Then, use Floss B to stitch over Floss A at the curl, or wherever you need to secure the shape. Twist Floss A again to create another curl, then use Floss B to stitch it down. Repeat this process until you reach the other end of the hair strand.
Once the strand is complete, bring Floss A down through the fabric. To conserve thread and keep the back of the embroidery from becoming too crowded, bring Floss A back up at the closest tip of the next hair strand, then work your way back toward the hair parting.
Continue working this way, alternating the direction of each hair strand, until the hair is filled in. Try not to make every curl exactly the same; slight variations will make the hair look softer and more natural.
Small tip: Use one strand of either brown floss color to fill in any small gaps in the hair. This helps soften the overall look and makes the hair appear fuller and more natural.
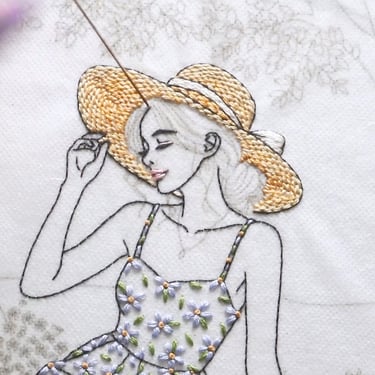
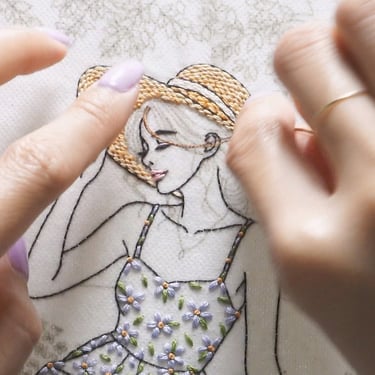
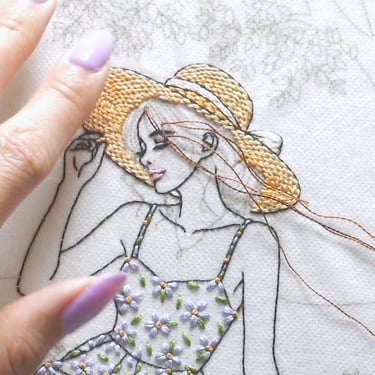
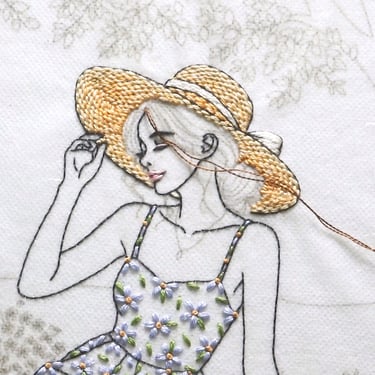
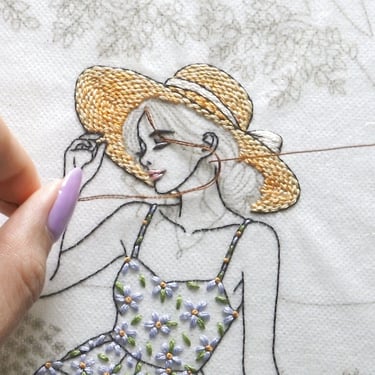
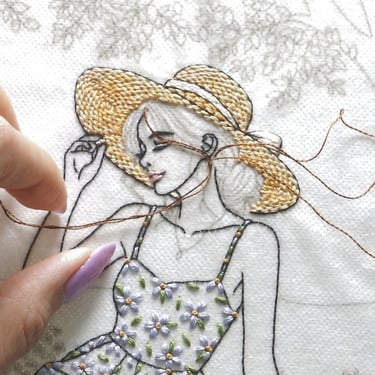
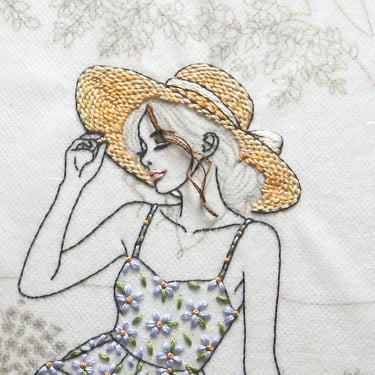
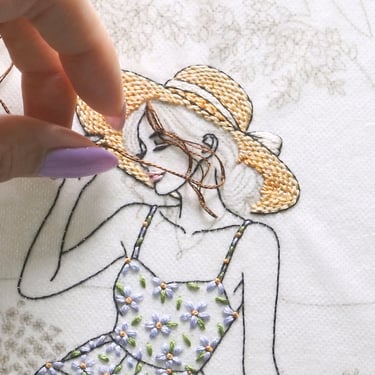
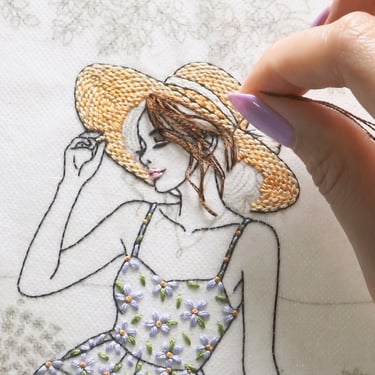
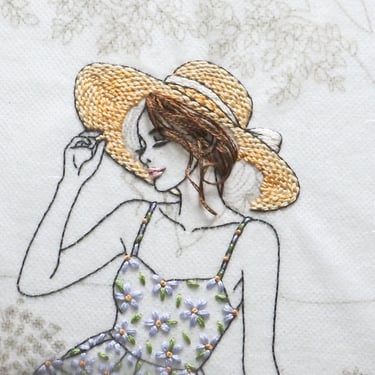
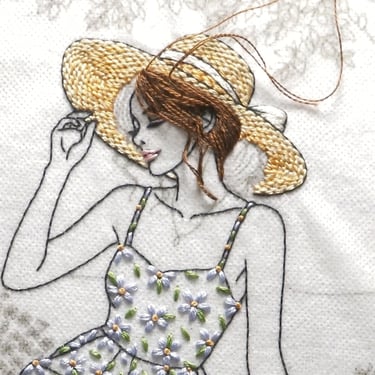
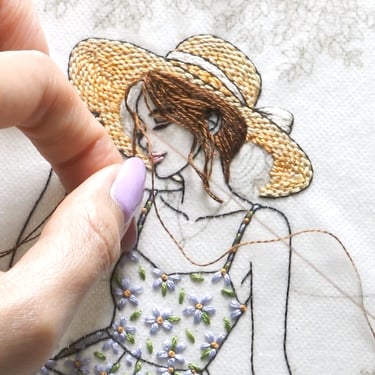
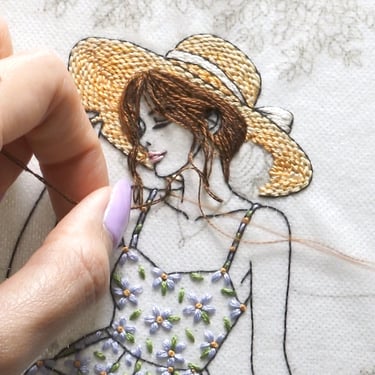
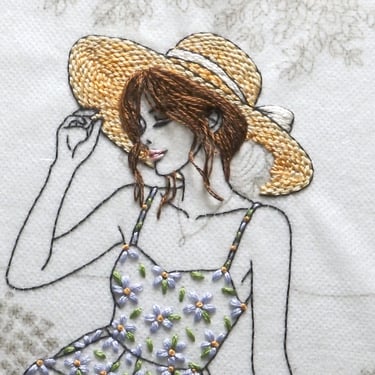
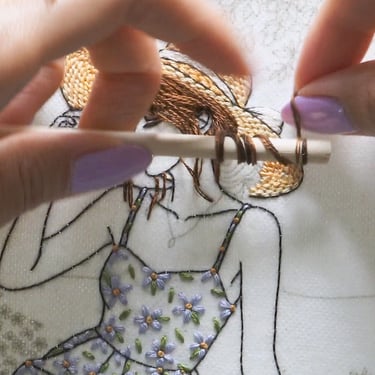
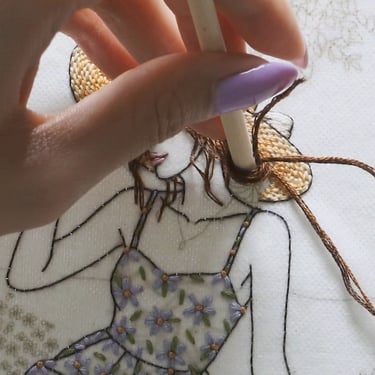
For the bun, I combined three strands of DMC 938 and three strands of DMC 975 (Floss C). To create the main shape of the bun, I used a small wooden peg to help form a large French knot. Then, using only the needle, I made a slightly smaller French knot inside it for added dimension.
Next, connect the knots to the rest of the hair using Floss B. Then, use floss C to add straight stitches around the knots, filling in the area and making the bun look fuller.
This is a free-form technique, so it is meant to look a little loose, natural, and unstructured rather than perfectly uniform. Have fun with it and feel free to experiment as you create your own low bun.
6. Book Cover & Fruit and Jam Board
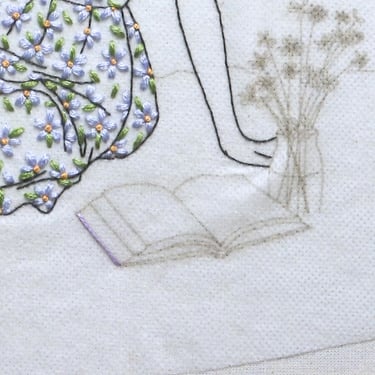
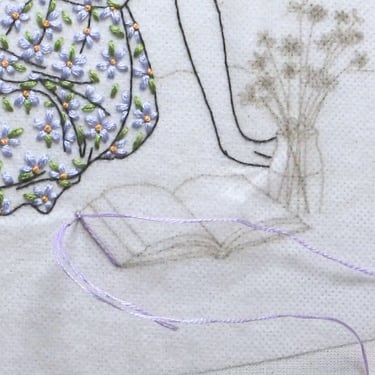
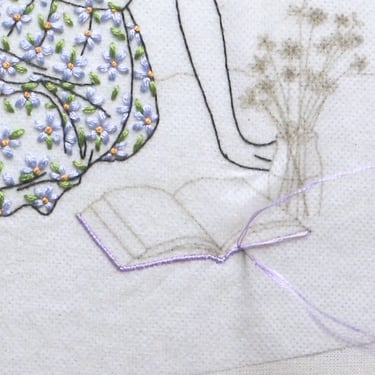
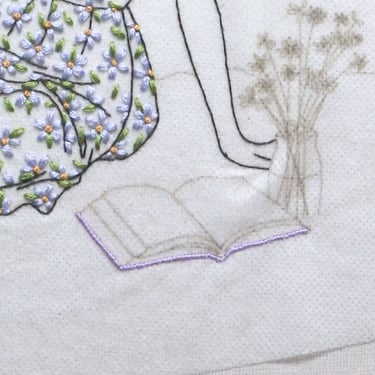
For the book cover, use three strands of DMC 210 and padded satin stitch. Start by creating a straight padded stitch along one side edge of the book. Then, layer satin stitches over the padded stitch, working across the edge until it is fully covered.
Continue this process for the remaining straight edges of the book cover. For the curved open spine, use shorter padded stitches so they can follow the curve of the book more smoothly. This will help the book cover look raised and dimensional while still keeping the shape clean.
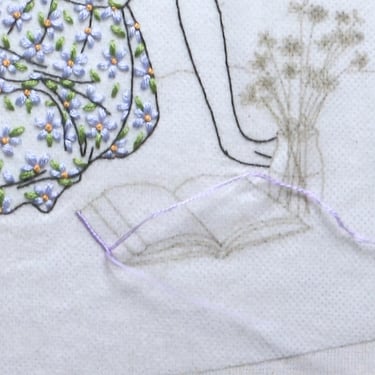
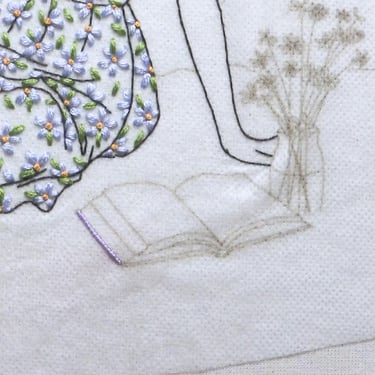
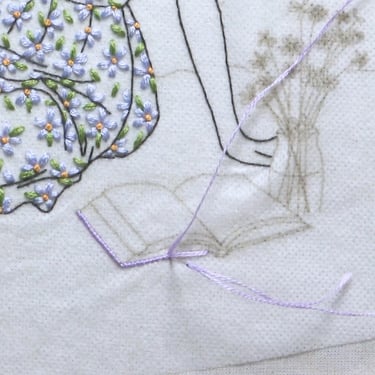
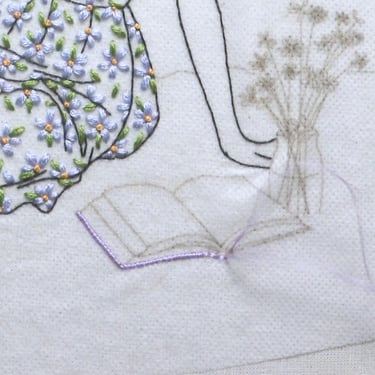
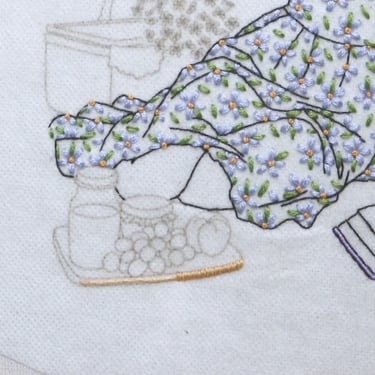
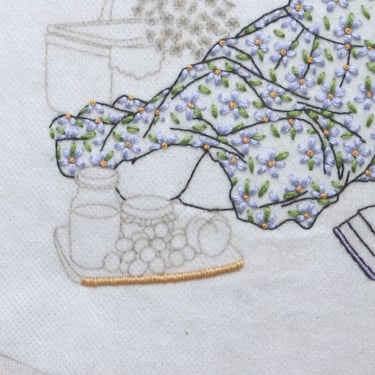
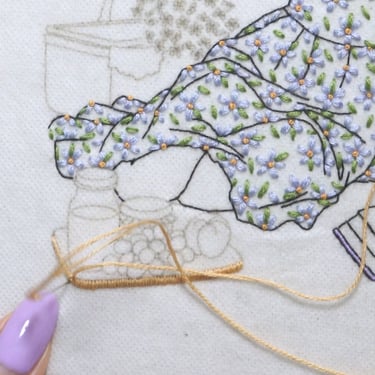
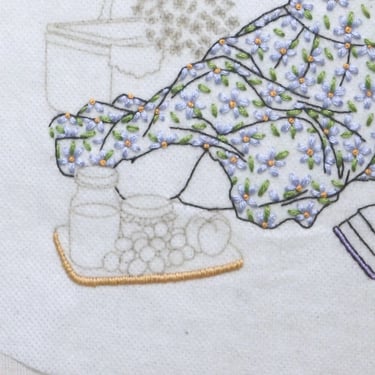
For the side edges of the fruit and jam board, use three strands of DMC 437 and the same padded satin stitch technique. This will give the board a slightly raised edge and help it look more dimensional.
7. Peach
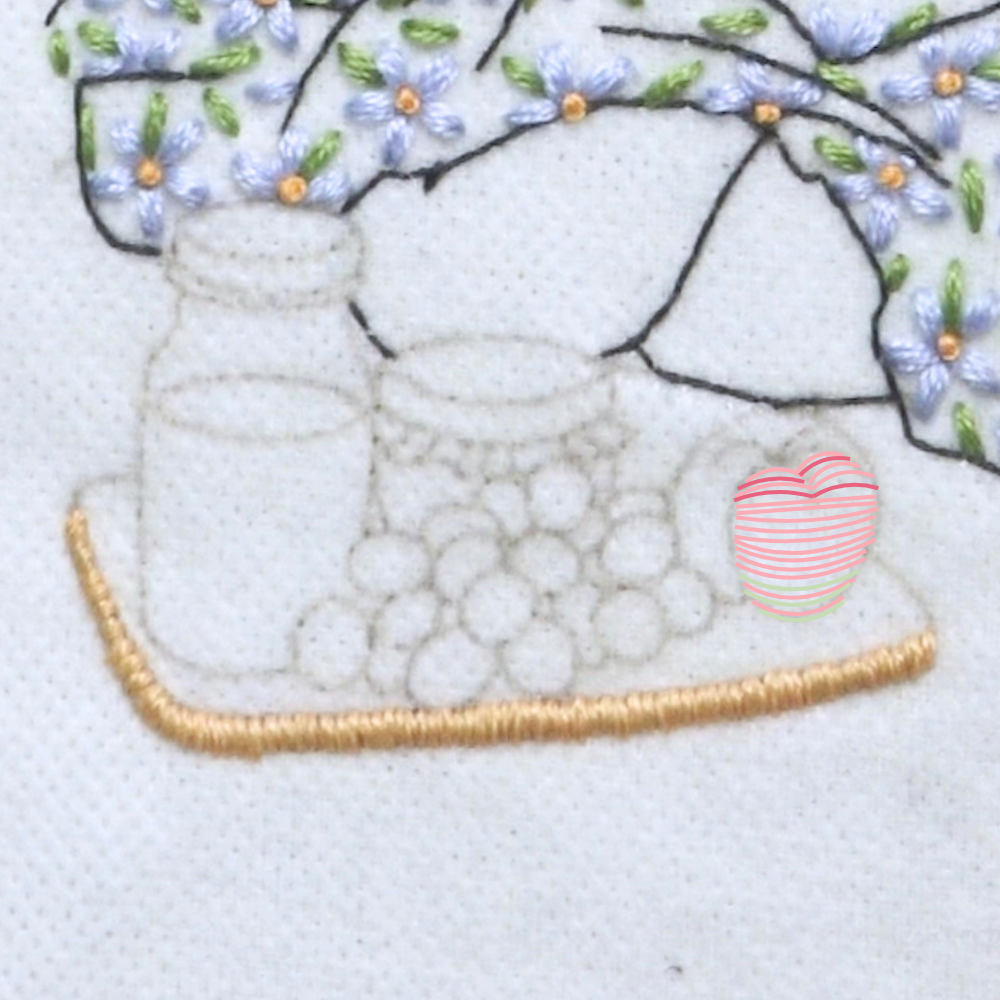
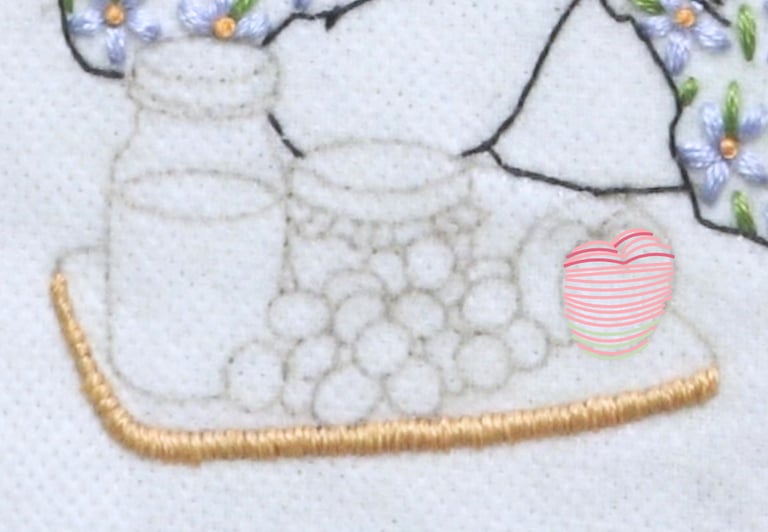
For the peach, use padded satin stitch. Start by using three strands of DMC 761 to create the base layer of padded satin stitch.
Then, use one strand of DMC 335 to add a few sporadic satin stitches near the top of the peach. At the bottom, use one strand of DMC 369 and blend it with DMC 761.
This color variation makes the peach appear redder at the top and slightly greener at the bottom, giving it a more realistic and lively look.
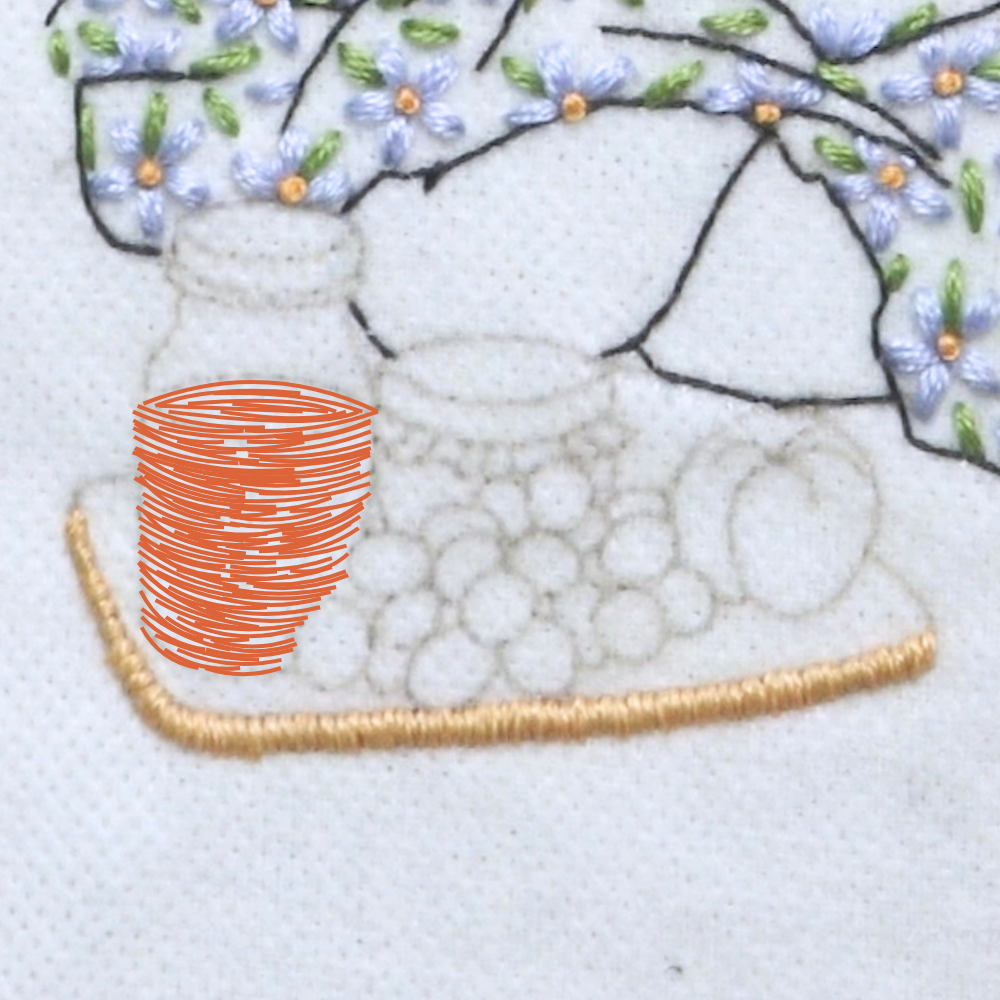
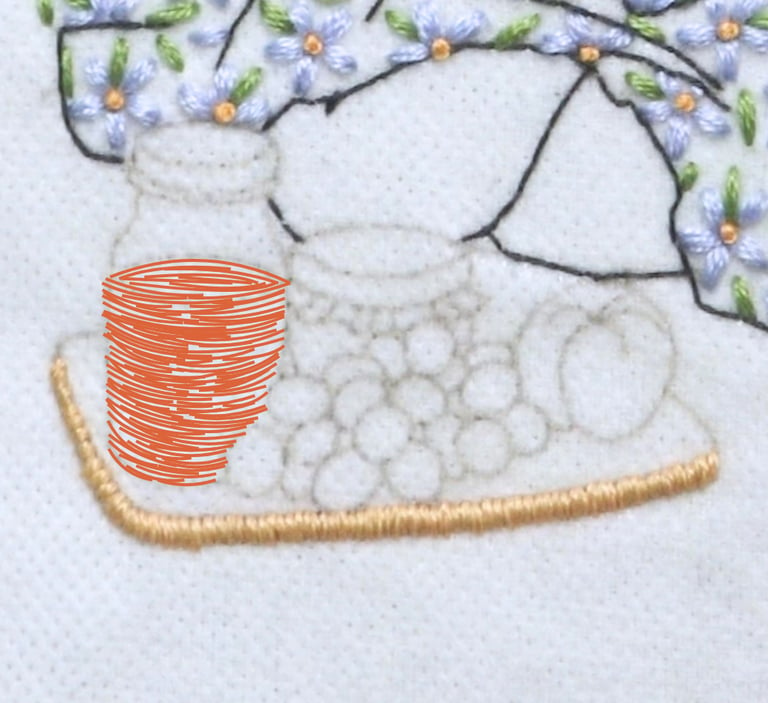
8. Orange Juice
For the orange juice, use two strands of DMC 721 and a modified satin stitch to fill in the shape. Since the bottle curves downward, the stitches should follow the direction of the bottle rather than sitting straight across.
Start by placing the stitches at a slight angle, following the curve of the juice inside the bottle. As the bottle bends downward, gradually adjust the direction of your stitches so the fill looks fluid and natural. This helps the orange juice look like it is sitting inside the curved bottle instead of appearing flat.
7. Picnic Mat (Optional)
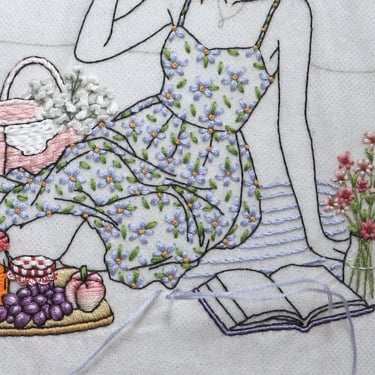
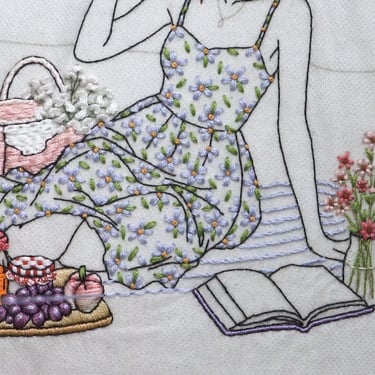
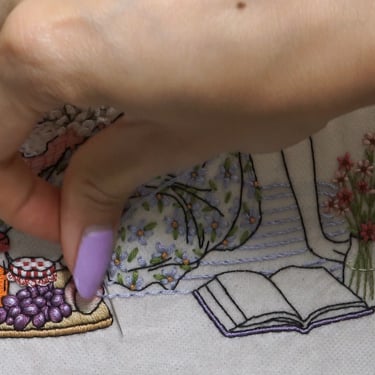
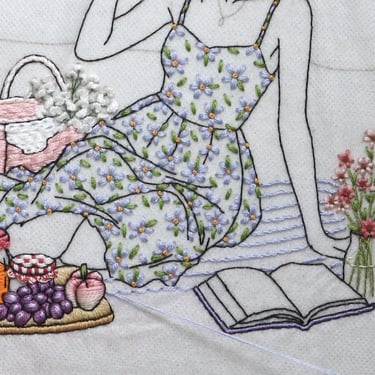
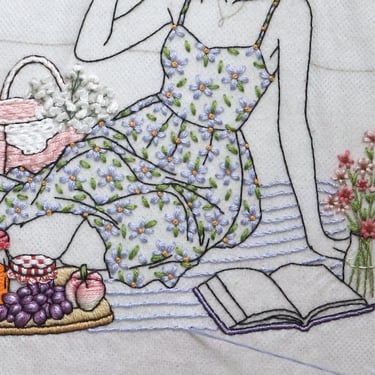
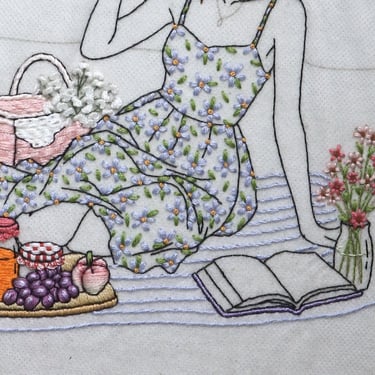
A summer picnic would not be complete without a classic picnic mat. To keep this detail simple, I used three strands of DMC 159 and whipped back stitch.
Embroider the blue stripes of the mat in a slightly slanted horizontal direction. Stitch around the lower body and the objects in the foreground, allowing the stripes to extend slightly past them to suggest the shape and placement of the mat underneath.
8. Necklace and Earring
Use one strand of any metallic thread you have. My usual go-to is DMC Diamant Metallic Thread, but in this video, I used Gosknor 6-Skein Embroidery Thread. Feel free to use whichever one you prefer, or any metallic thread you already have available. Use back stitch to embroider the chains and satin stitch to embroider the pendants.


Finishing the Remaining Details
From here, the rest of the embroidery is fairly straightforward and will be demonstrated in detail in the video tutorial. Continue working through the remaining small details one section at a time, following the stitch types, strand counts, and color notes shown on the screen.
Since many of these areas are small, I recommend pausing the video often, reading the on-screen instructions carefully, and replaying any section you would like to review. Take your time with the tiny details, and don’t worry if your stitches do not look exactly like mine. Small variations are part of what makes hand embroidery so special.
Once all of the stitching is complete, check over the design for any missed lines, loose threads, or areas you would like to adjust before removing the stabilizer and finishing the hoop.
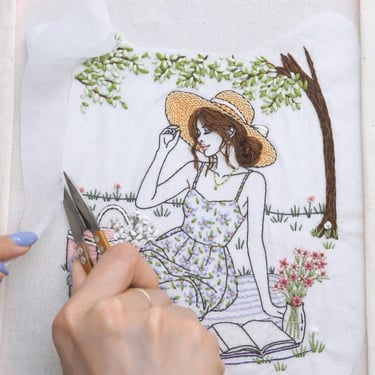
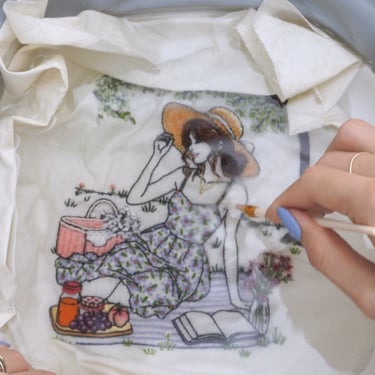
After you finish embroidering, carefully trim away the excess stabilizer around the design, leaving about a 1/4-inch margin so you do not accidentally cut into the stitches. Soak the embroidery in water to dissolve the remaining stabilizer. Once the stabilizer has softened, gently agitate the stitches with your fingers or a soft-bristled brush to remove any stubborn adhesive residue. Rinse thoroughly, then lay the embroidery flat to dry.
Final Thoughts
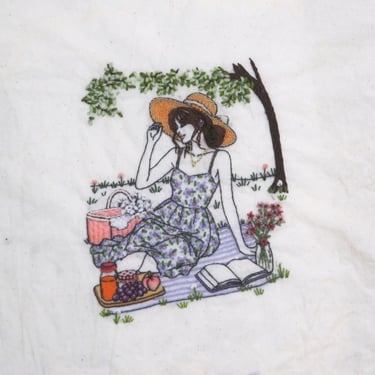
And that completes the Summer Picnic embroidery design!
This project is definitely one of my more detailed embroidery patterns, but I hope this guide helps make the process feel more approachable and enjoyable. There are many little elements in this design, from the floral sundress and sunhat to the picnic basket, fruit board, flowers, book, and surrounding greenery. When stitched slowly section by section, all of those small details come together to create a peaceful summer scene.
I hope this pattern brings you the same warm, romantic picnic feeling that inspired me to create it. Remember to be patient with yourself, enjoy the process, and embrace the little imperfections that make your embroidery unique.
If you would like to stitch this design, the printable PDF pattern is available for purchase and includes the full-size template, color guide, stitch list, stabilizer instructions, and clickable supply list. You can also follow along with the free video tutorial, which demonstrates the stitching process with on-screen captions, strand counts, stitch types, and technique notes.
Thank you so much for stitching along with me. I hope your finished summer picnic embroidery brings a little bit of sunshine, nature, and handmade joy into your space.
House of Nina Anne
Follow me on social media
Newsletter
For online orders: contact@houseofninaanne.shop
©2026 House of Nina Anne. All rights reserved.
Join my stitching corner, get fresh embroidery tips, and receive exclusive deals!
For custom embroidery art: